概要 #
這個 lab 是以官方提供的範例叢集自動部署,再做一些細節操作註解,同時,也會補遺一些文件漏掉的步驟,和會踩到的坑。此外,步驟也會以個人覺得較順的操作順序重新調整。
Explore Anthos | Google Cloud
專案簡述 #
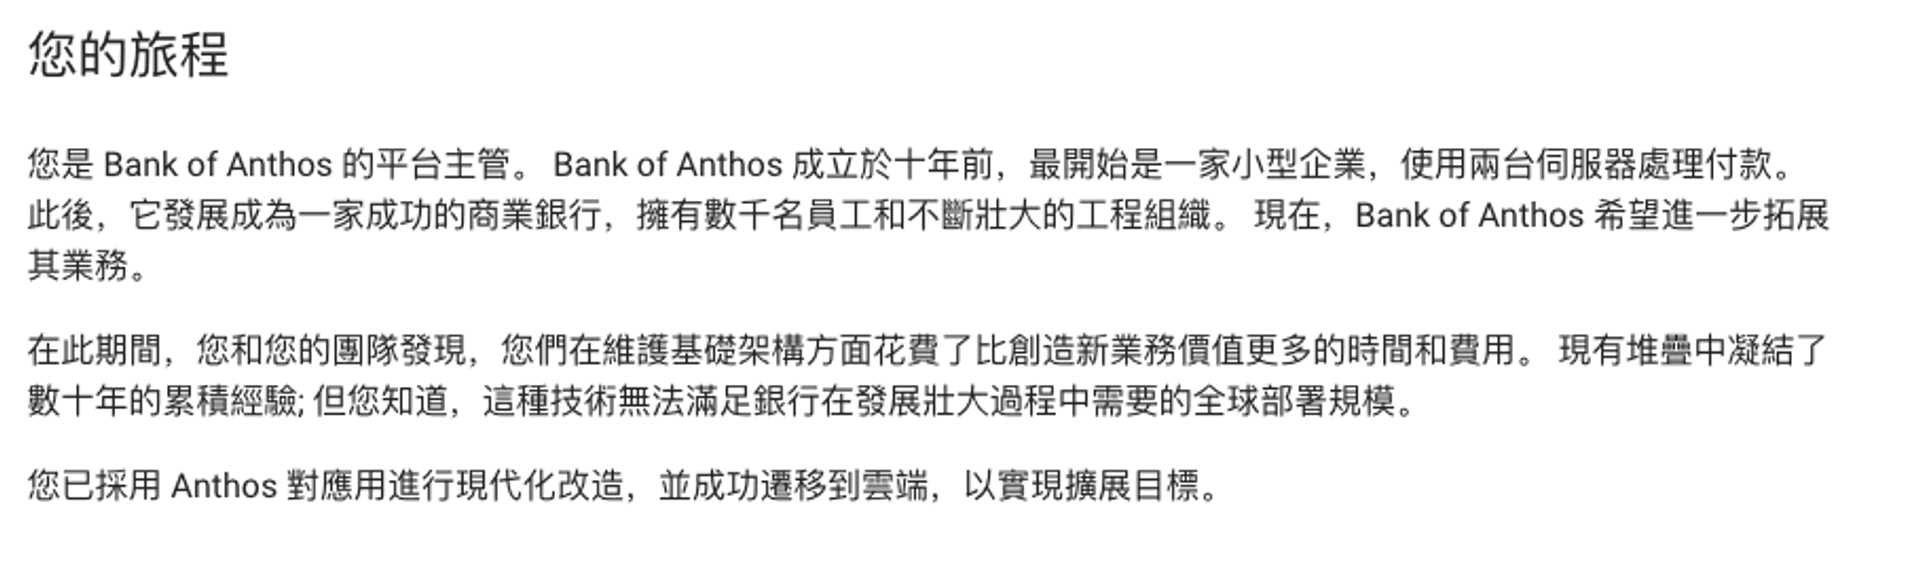
這邊提到的故事背景,和許多企業的應用程式現代化模式是類似的,這代表未來在擴展應用程式中 Anthos 可以扮演遷移上雲、加大部署的重要角色。
BOA 的部署做了什麼事 #
雖然這個 quickstart 的目的在讓人熟悉 Anthos 能做的事,所以重點將不會放在部署,GCP Market 甚至會幫我們做好完整的部署,不過這邊還是簡述一下:
https://github.com/GoogleCloudPlatform/anthos-sample-deployment
- 使用 cloud build 設定 GCP 環境
- 創建與註冊叢集
- 部署 Anthos Service Mesh
- 創建應用程式所需要的命名空間與物件
準備工作 #
開啟全新的 project #
使用 GCP 開啟一個新的 project,這是為了符合這項需求:

在 GCP Cloud Shell 或透過 SDK 執行指令:
gcloud config set compute/zone asia-east1-a
會得到以下訊息:
g410188043@cloudshell:~ (anthos-lab-373708)$ gcloud config set compute/zone asia-east1-a
Updated property [compute/zone].
測試是否符合部署需求 #
下以下的指令,將會自動檢查:
curl -sL https://github.com/GoogleCloudPlatform/anthos-sample-deployment/releases/latest/download/asd-prereq-checker.sh | sh -
結果如下,基本上大致都會 PASS。僅有的 WARNING 部分可以先不管,不會影響到部署流程。
g410188043@cloudshell:~ (anthos-lab-373708)$ curl -sL https://github.com/GoogleCloudPlatform/anthos-sample-deployment/releases/latest/download/asd-prereq-checker.sh | sh -
Checking project anthos-lab-373708, region asia-east1, zone asia-east1-a

PASS: User has permission to create service account with the required IAM policies.
PASS: Org Policy will allow this deployment.
PASS: Service Management API is enabled.
WARNING: The following filter keys were not present in any resource : name
PASS: Anthos Sample Deployment does not already exist.
PASS: Project ID is valid.
PASS: Project has sufficient quota to support this deployment.
g410188043@cloudshell:~ (anthos-lab-373708)$
在專案內啟用相關 Google Cloud API #
啟用 Anthos API #
啟用 Anthos API
啟用 BOA 需要的 API #
部署 Bank of Anthos #
準備啟用 GCP Market Place Click Deploy 自動部署 #
進入 Anthos Sample Deplyment on Google Cloud 專案:
https://console.cloud.google.com/marketplace/details/click-to-deploy-images/anthos-sample-deployment
當中其實就是 BOA 的相關部署作業。
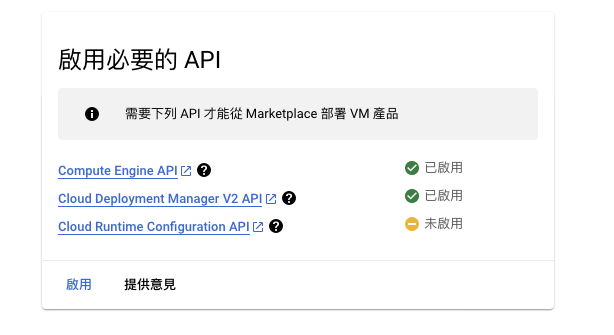
進來之後可以先點擊「查看先前的部署作業」,其實就是檢查這個部署 Prerequisites 的 API 是否都已經完成啟用:
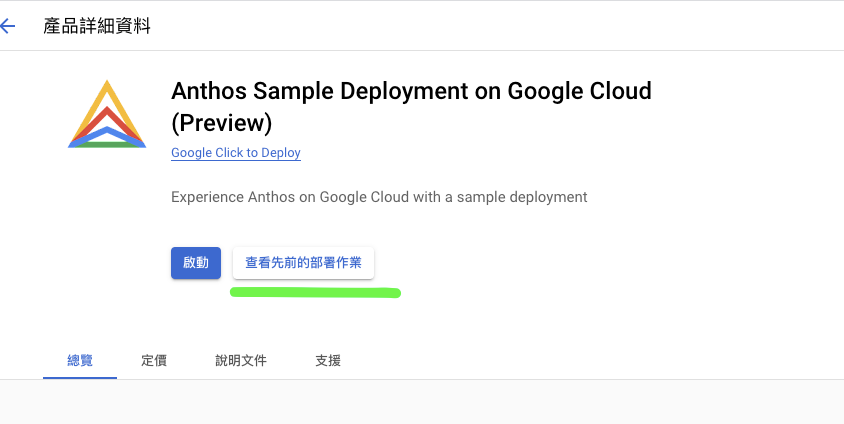
如果剛剛的三隻 API 有少掉沒有開啟,這邊會提示未啟用,要求開啟,所以不用太過擔心。
前面先寫,主要是希望大家知道是哪幾隻 API 被啟用,未來 API 的啟用可能會影響到相關費用的產生或要求一些權限衍生安全性問題。
配合創建 Service Account #
啟用完 prerequisites 的 API 之後,先不要繼續,我們再回頭看到官方文件中的一項建議:
- (Optional) In the deployment configuration screen, specify your chosen deployment name, zone, and Service Account. However, for your first deployment, we recommend that you accept all of the provided default values, including creating a new Service Account.
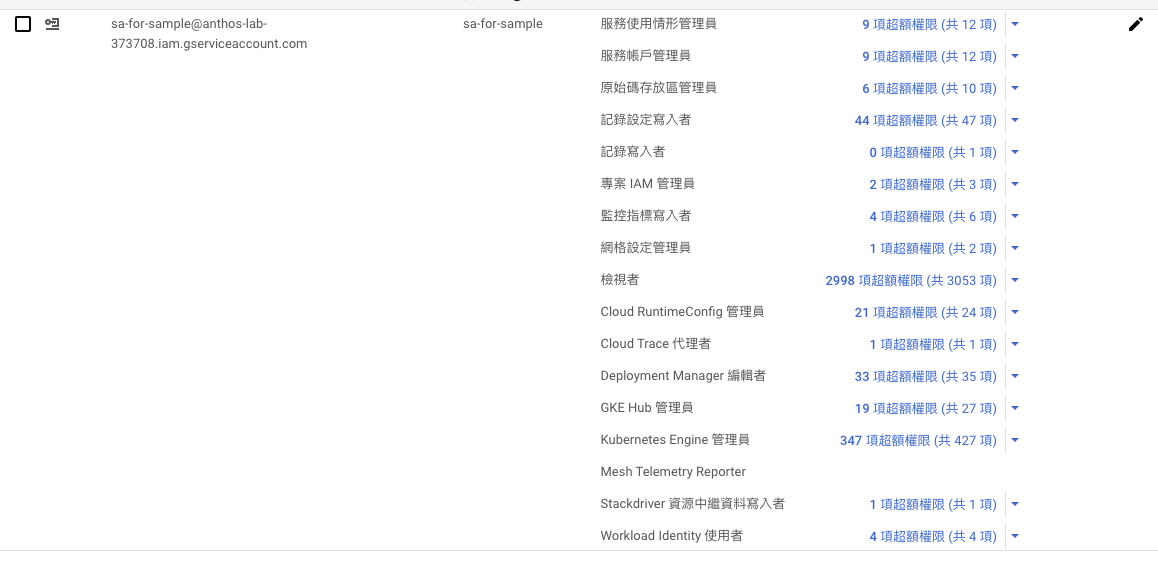
根據這項建議,啟用時,選擇創立一個新的 SA 會是較好的選擇,相關權限會 GCP Click Deply 會透過 ClusterRoleBinding 直接綁定。
這個 Service Account 會有以下的權限:
開始部署 #
接著進行部署,會產生一個叢集和 Bastion VM 負責將環境部署:
While the deployment is progressing, the Google Cloud console transitions to the Deployment Manager view. After the sample is deployed, you can review the full deployment. You should see a list of all enabled resources, including one GKE cluster (anthos-sample-cluster1) and one Compute Engine instance (asd-jump-server).
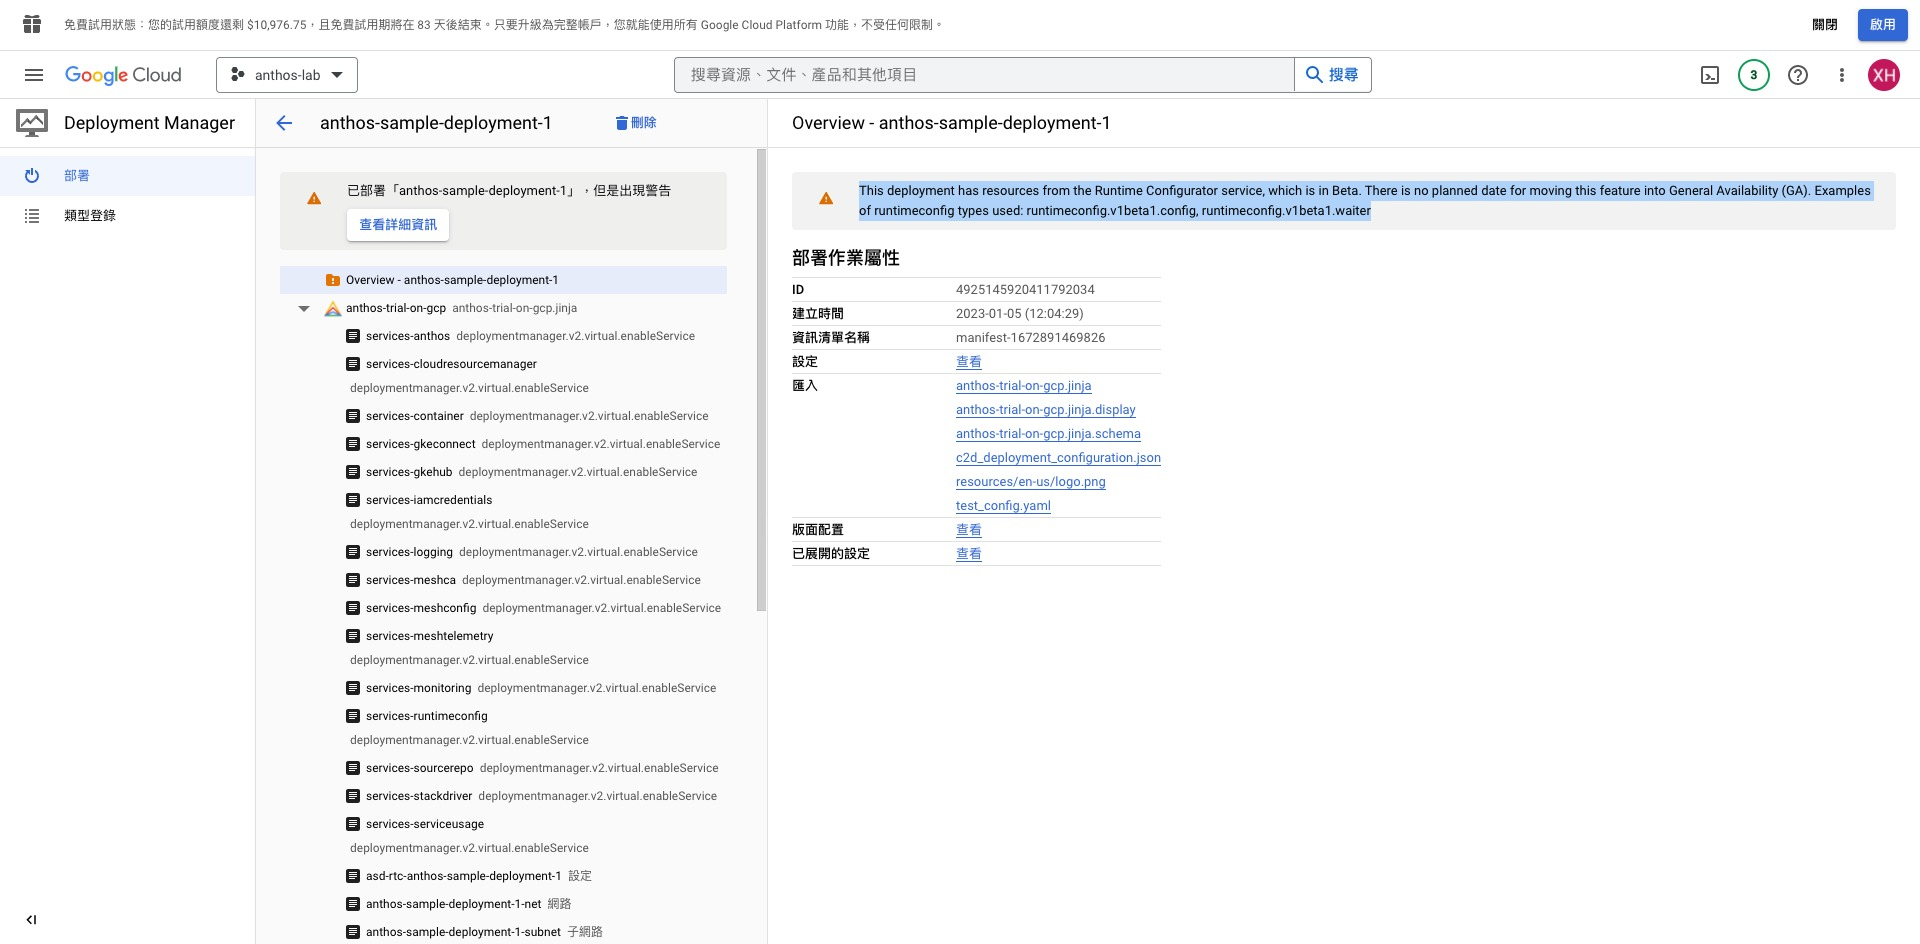
進入 Deployment Manager 部署管理員,可以看見部署的情況:


已部署「anthos-sample-deployment-1」,beta 廢棄警告先忽略不理即可。
This deployment has resources from the Runtime Configurator service, which is in Beta. There is no planned date for moving this feature into General Availability (GA). Examples of runtimeconfig types used: runtimeconfig.v1beta1.config, runtimeconfig.v1beta1.waiter
部署完成 #
進 GKE,可以看到節點正在部署,最後部署完成:
若還沒完成,則可能需要更多的時間等待。
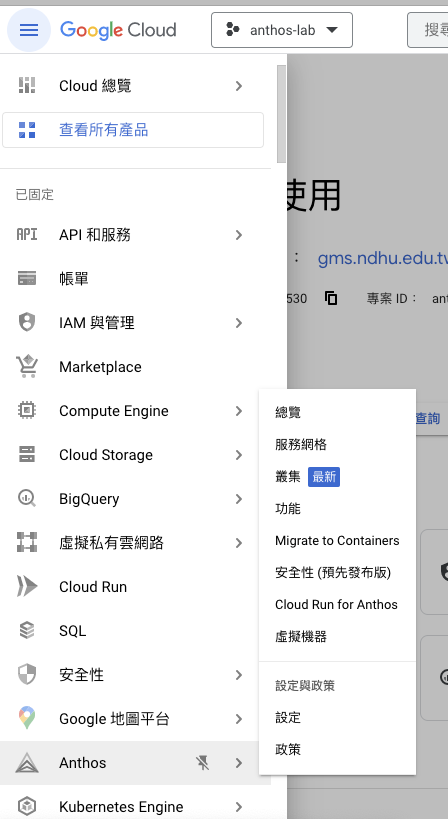
Anthos #
透過側邊 tab 的 Anthos 總覽功能進入到 Anthos Console:
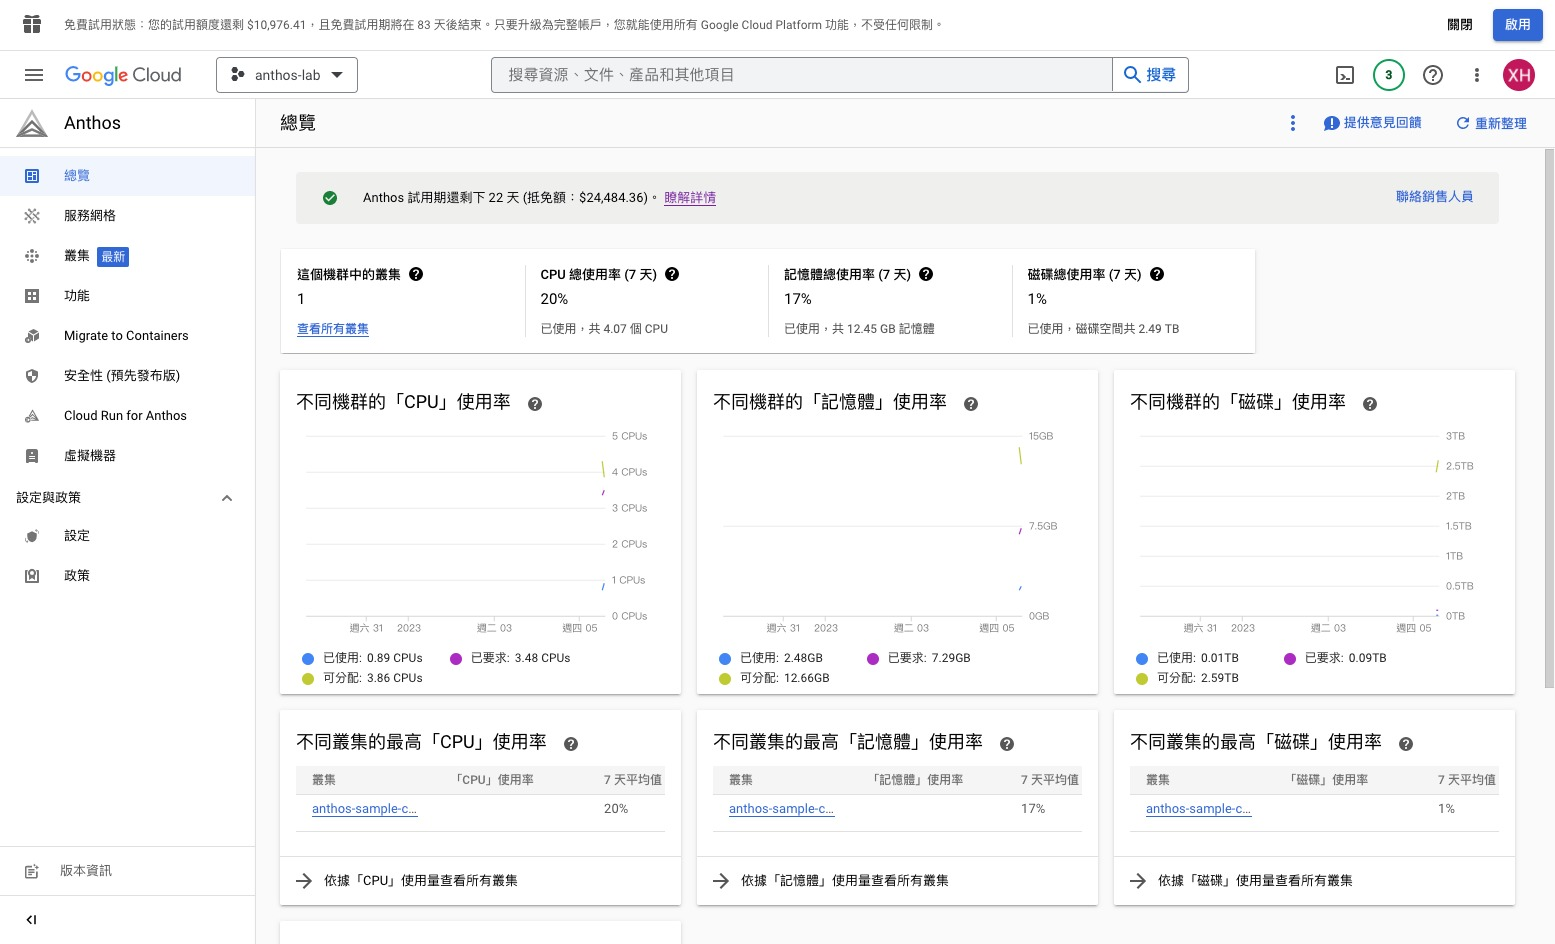
Anthos Dashboard #
Anthos provides an out-of-the-box structured view of all your applications' resources, including clusters, services, and workloads, giving you an at-a-glance view of your resources at a high level, while letting you drill down when necessary to find the low-level information that you need. To see your deployment's top-level dashboard, go to your project's Anthos Overview in the Google Cloud console.
可以點選叢集 tab,看到範例叢集已經被部署:
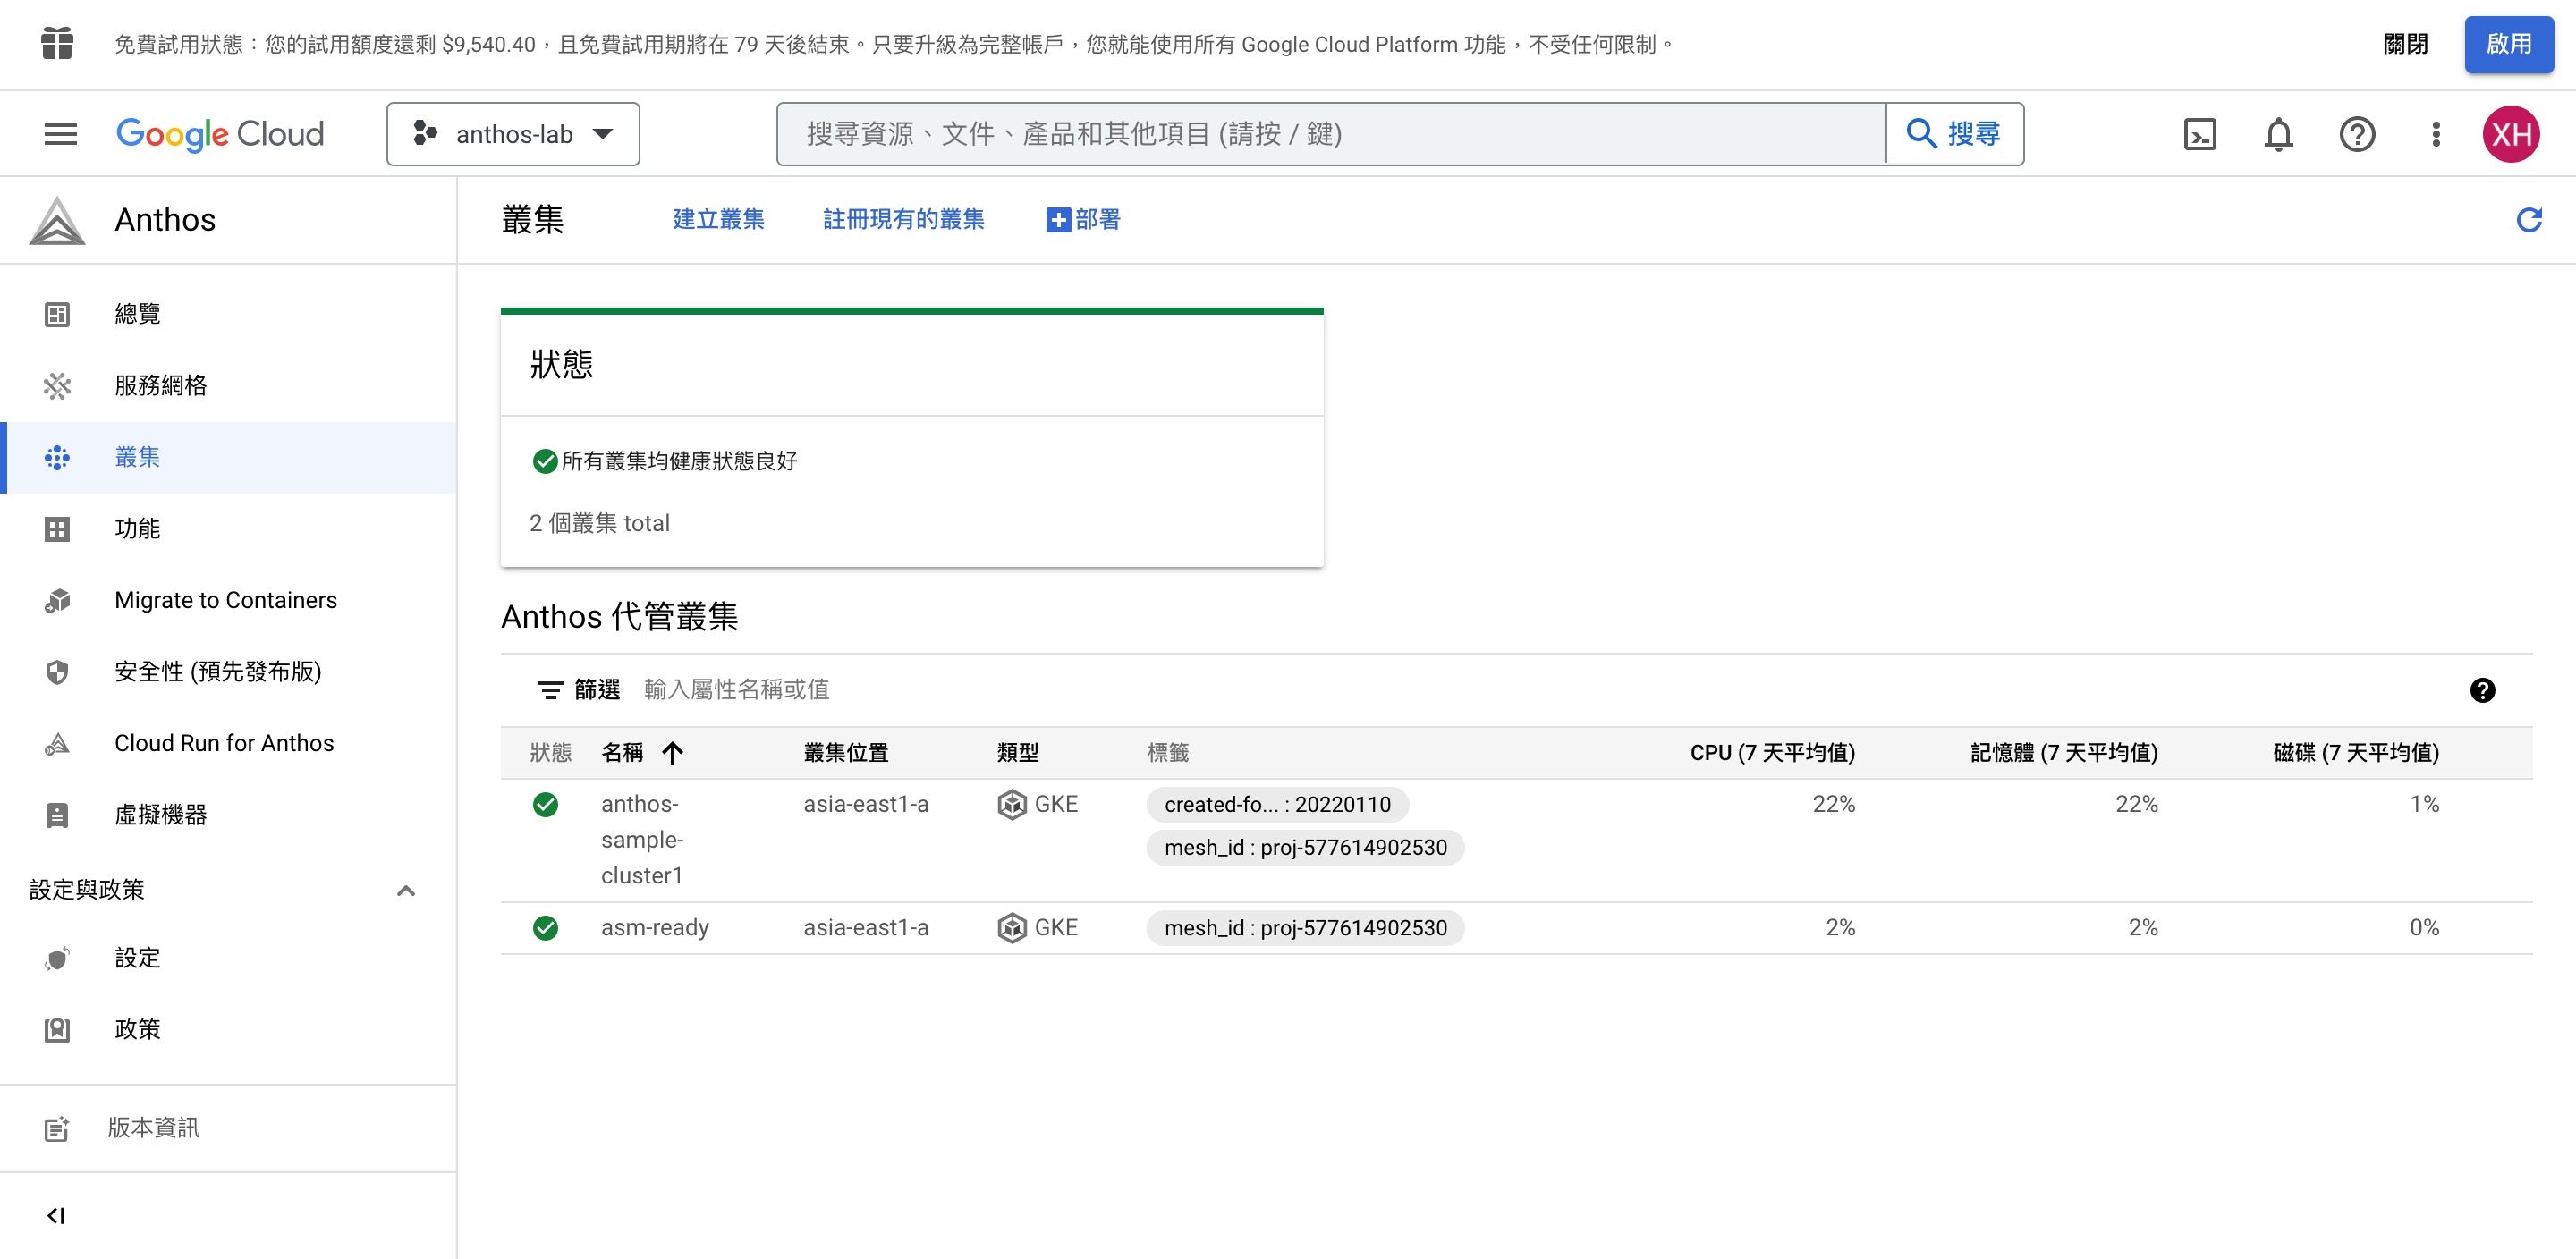
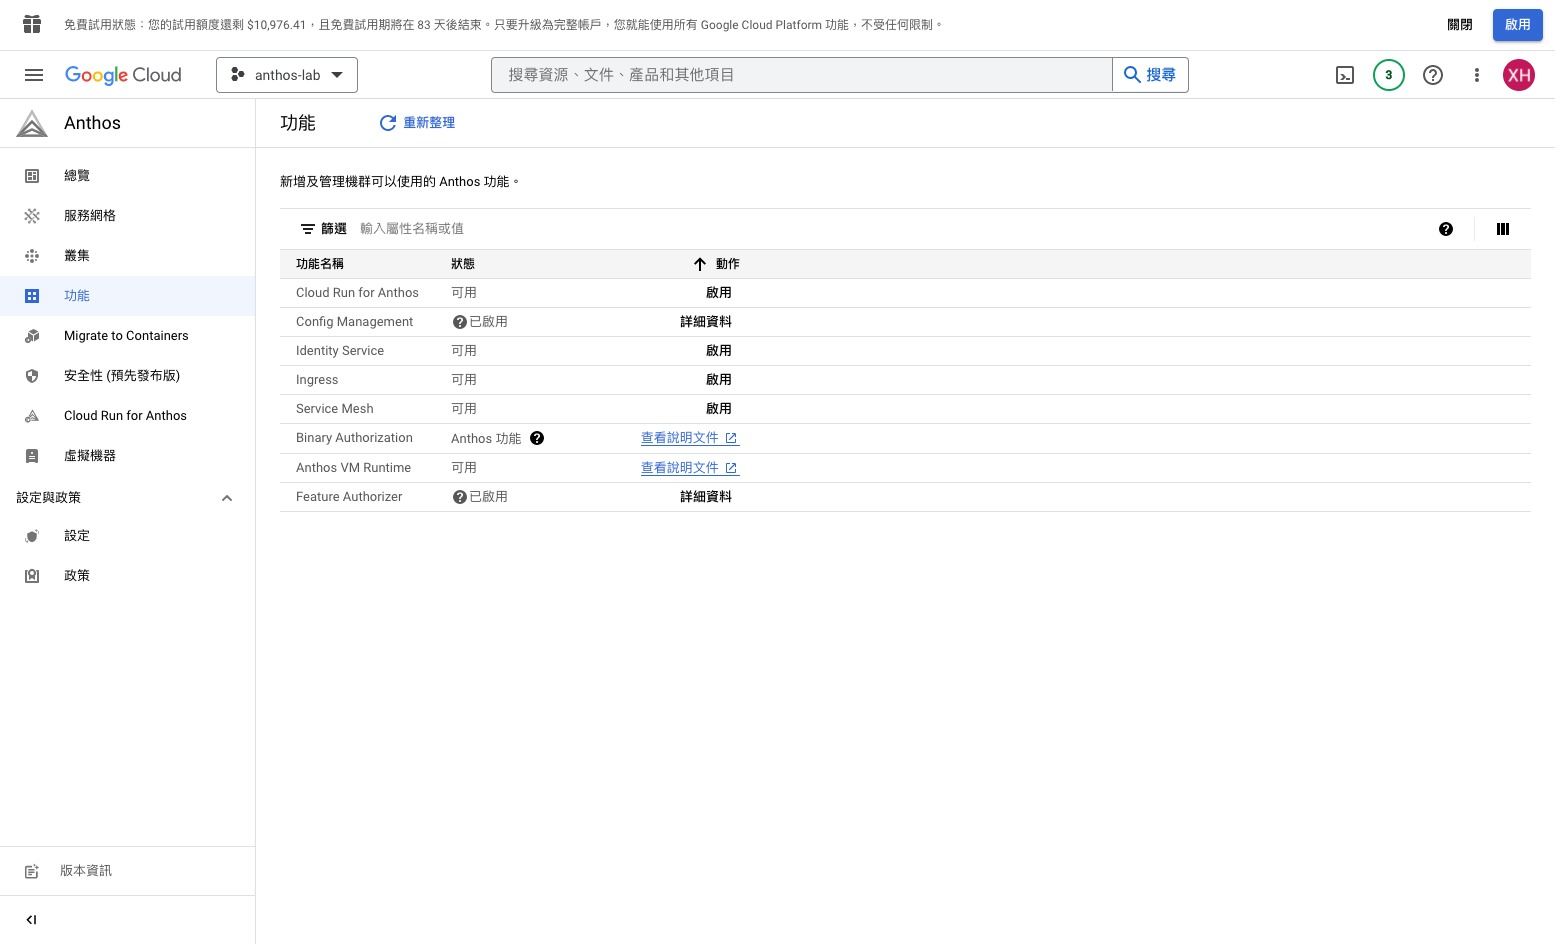
切到功能 tab ,可以看到 Config Management 和 Feature Authorizer 以外,預設這些附加功能都是不會開的。
GKE Clusters #
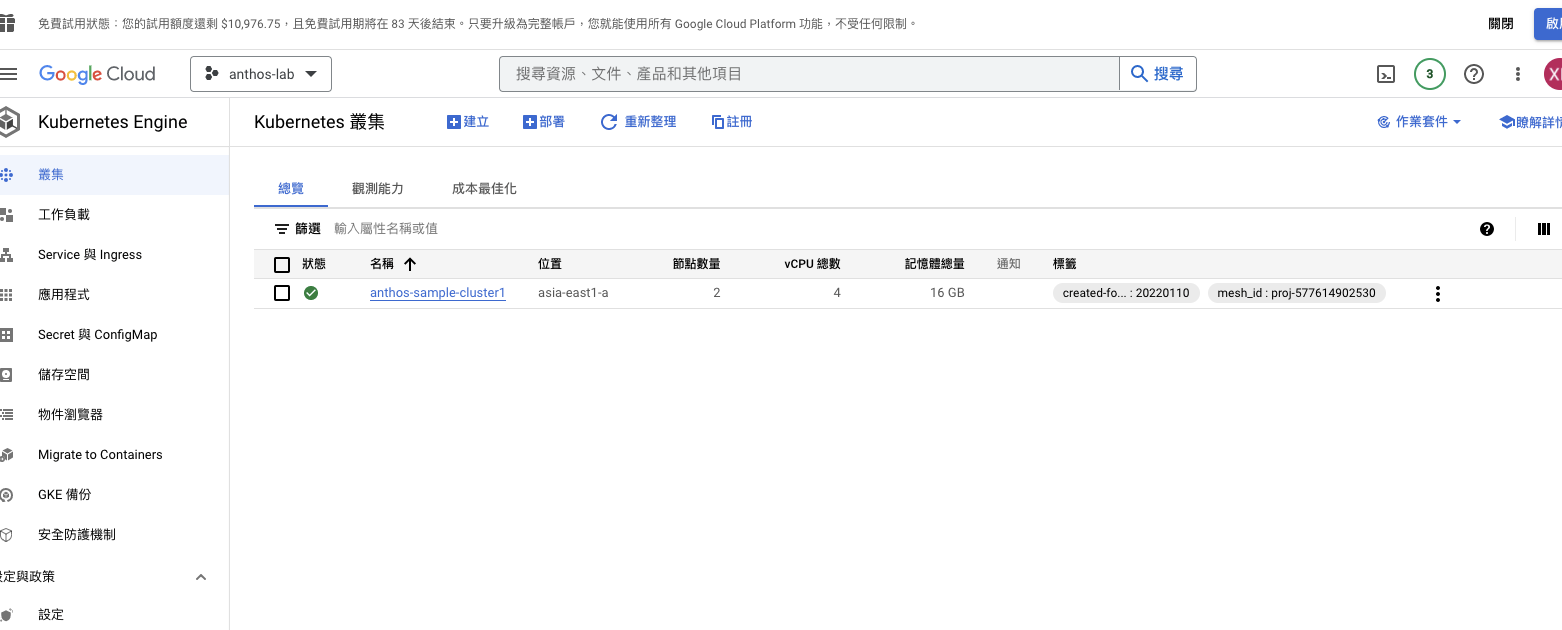
切換到 GKE 的叢集功能按鈕:

也會看到範例叢集在其中:

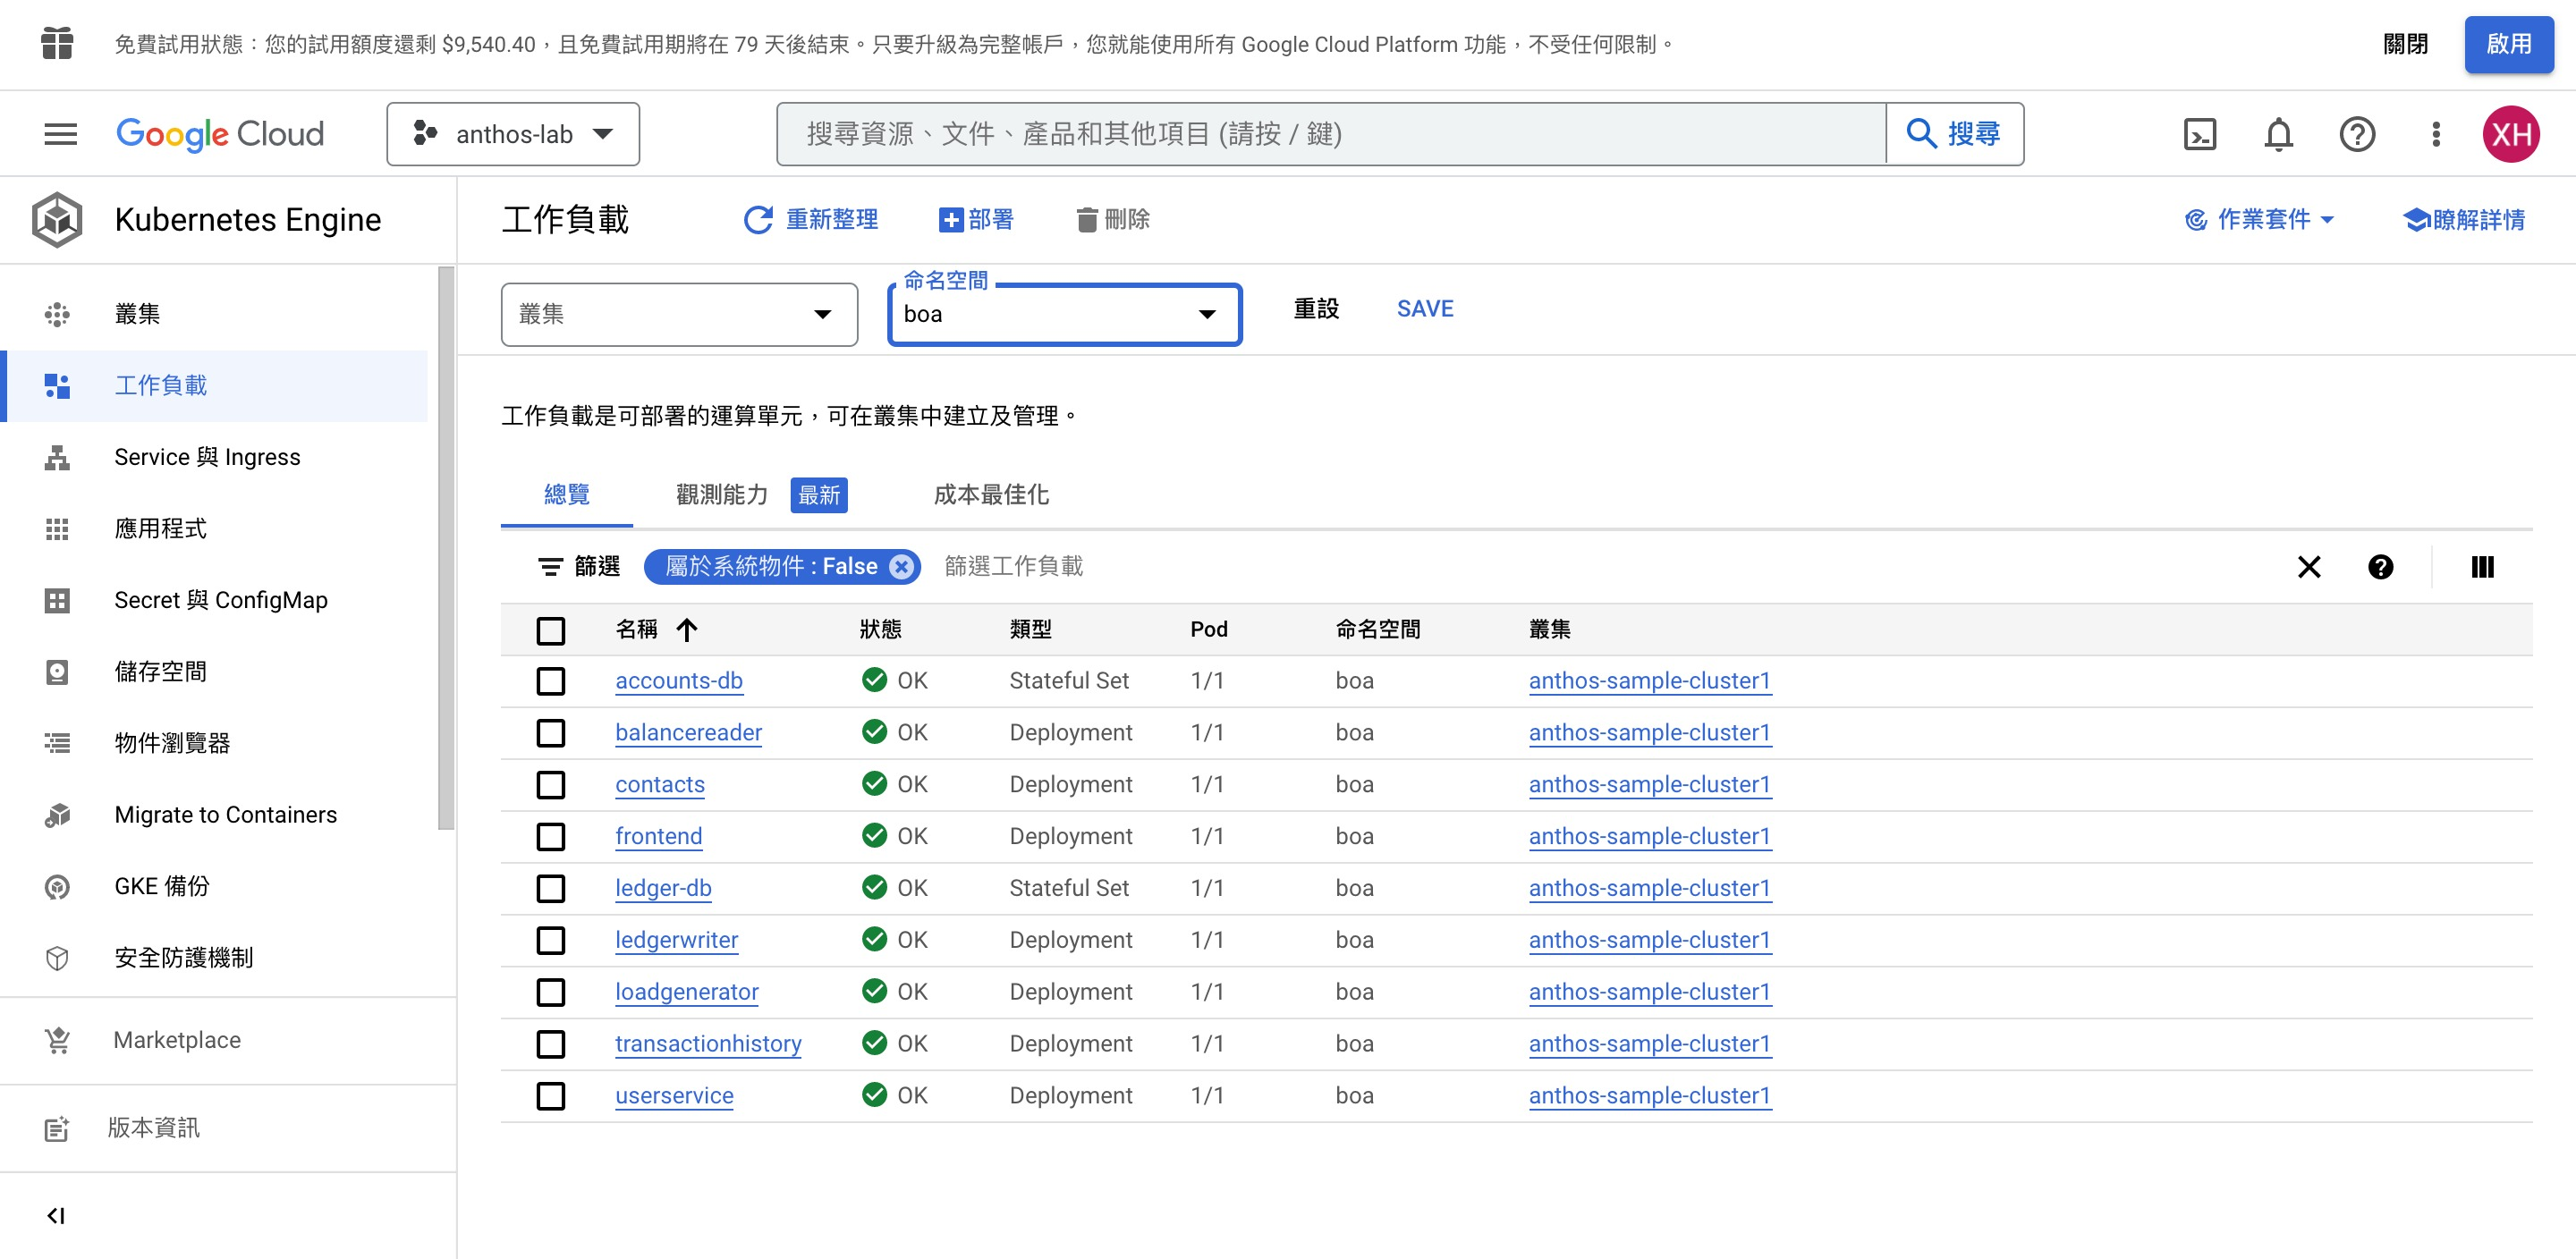
Workloads #
在工作負載頁中可以看到被起起來的應用程式,其中命名空間 boa 專門部署與 BOA 專案有關的應用程式:
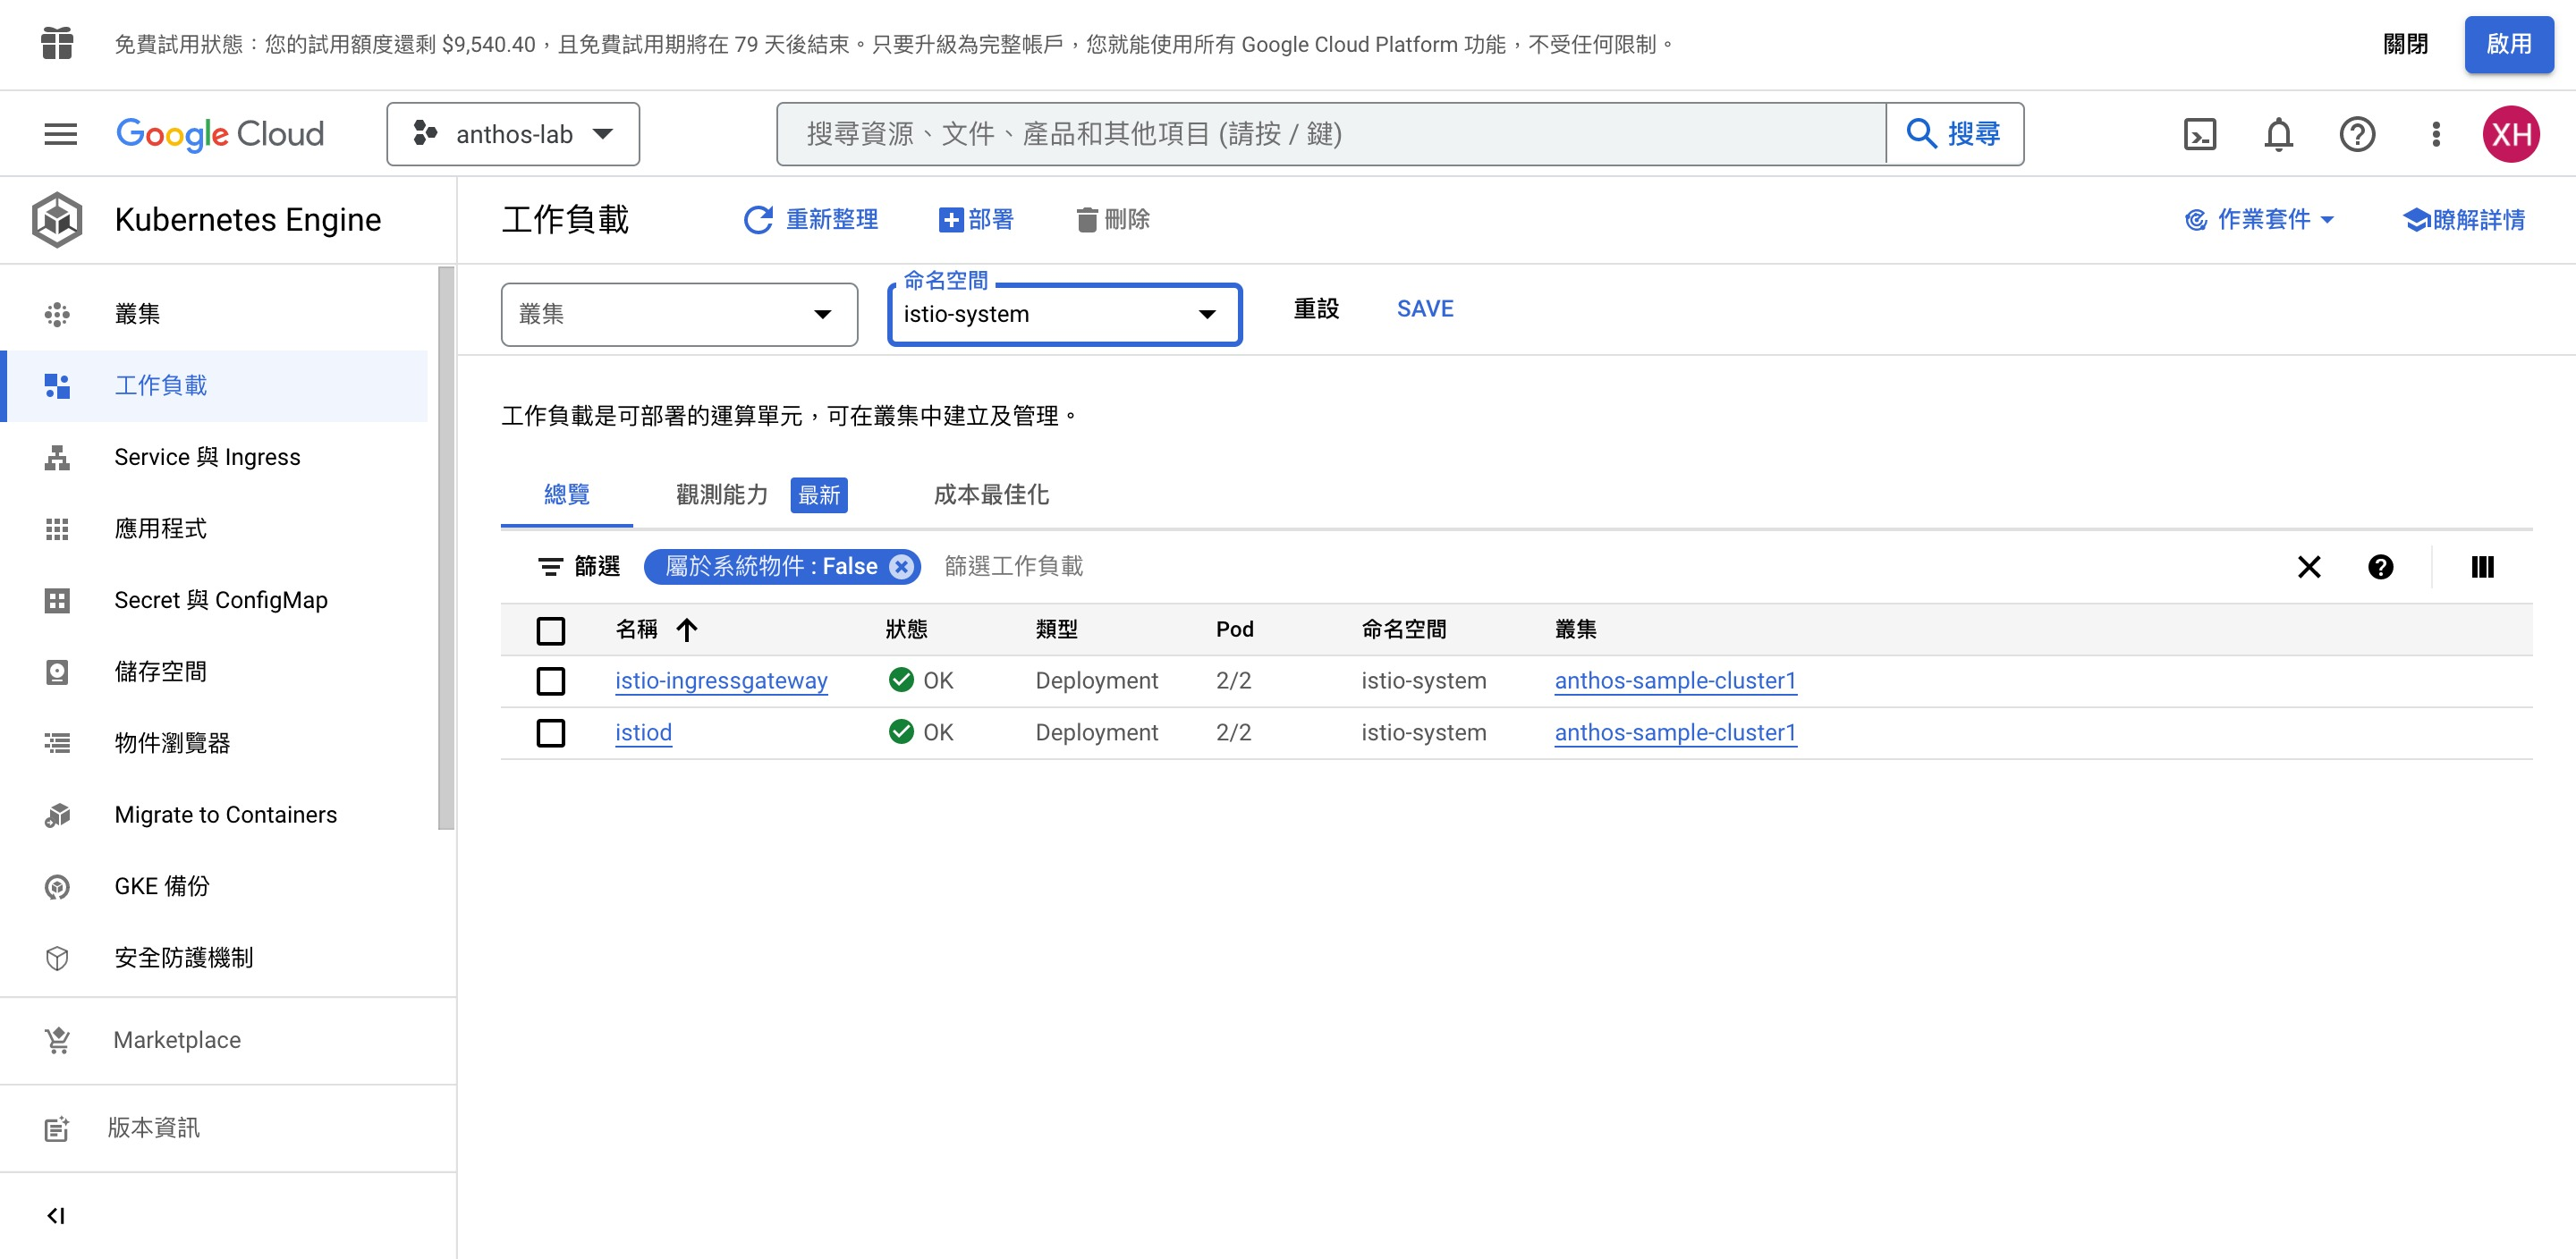
也可以看到 istio-system 命名空間下,屬於 Istio control plane 的服務,包含 Istiod (pilot 等)、BOA 的 Istio Ingress gateway。
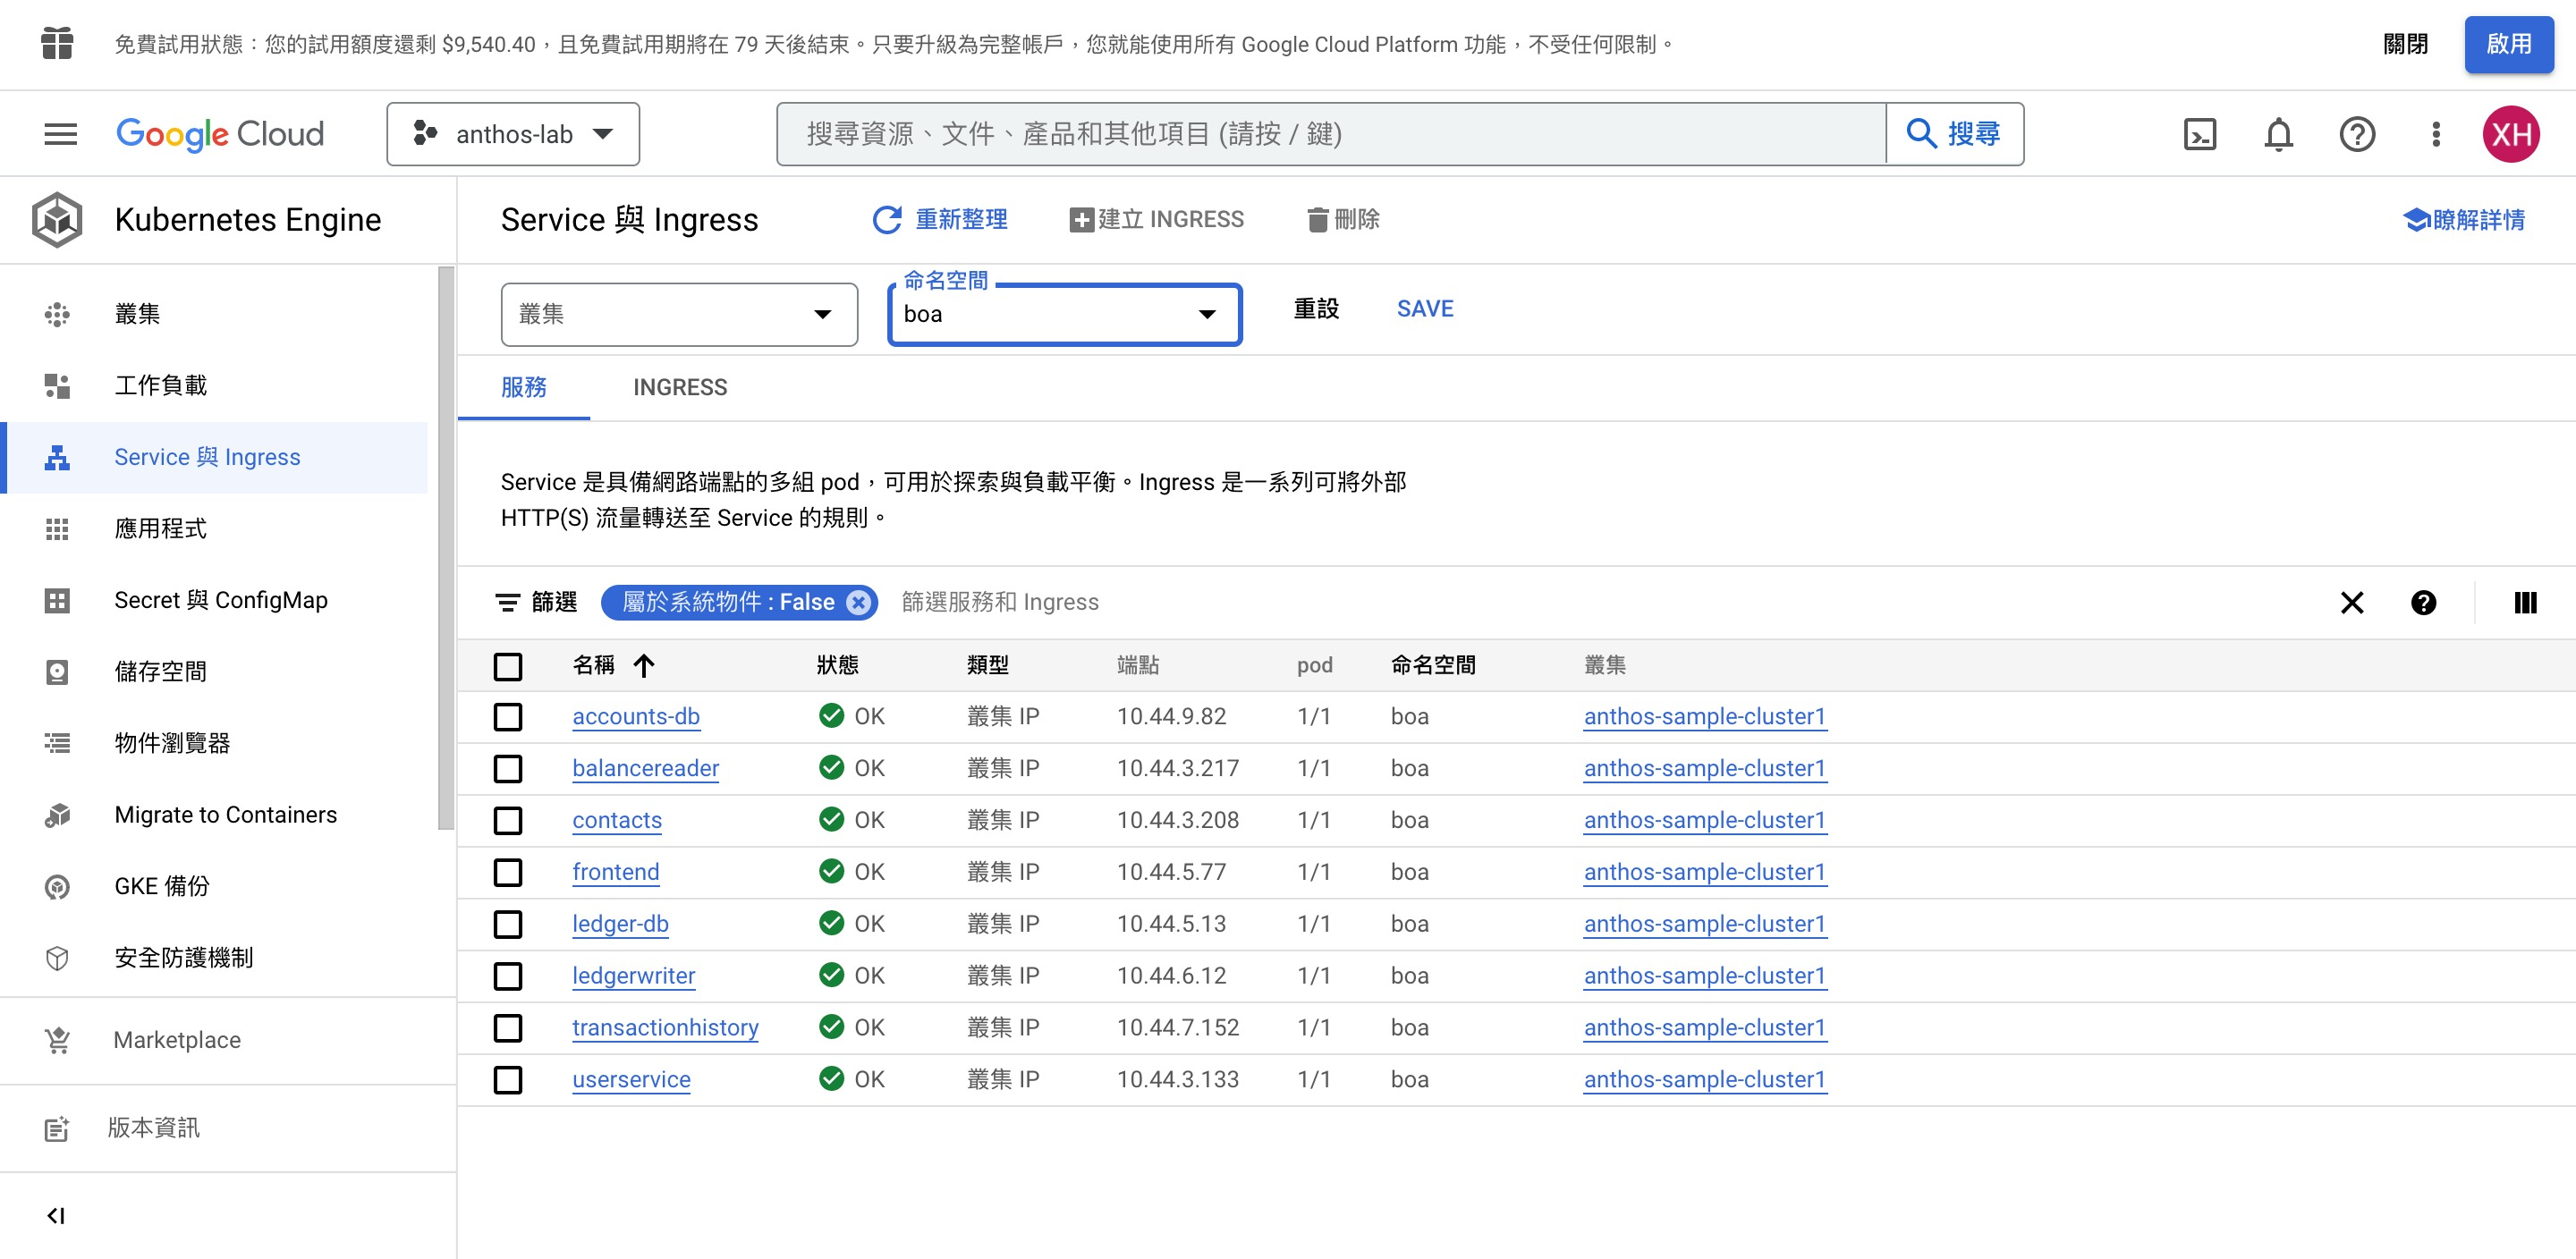
Service 與 Ingress #
Service 和 Ingress 视图显示项目的 Service 和 Ingress 资源。Service 通过端点将一组 pod 公开为网络服务,而 Ingress 管理对集群中服务的外部访问权限。但是,针对流向银行的流量,Bank for Anthos 并不使用常规的 Kubernetes Ingress,而是使用 Istio 入站流量网关服务,Anthos Service Mesh 网格可以使用该服务向其入站流量添加更复杂的路由。在本教程后面的部分,您会在使用服务网格可观测性功能时看到这一功能的实际应用。
在 Service 與 Ingress 功能頁面,選擇 boa Namespace,可看見底下各個服務都有 expose 出端點,以使 Service 可以為 Deployment, StatefulSet 下的各 Pod 負載平衡。
而在 istio-system 與 Namespace 底下,也可以看到兩個 Workload 也都有自己的 Service,並且可以觀察到 istio-ingressgateway 是一個外部 Load Balance 類型的 Service。
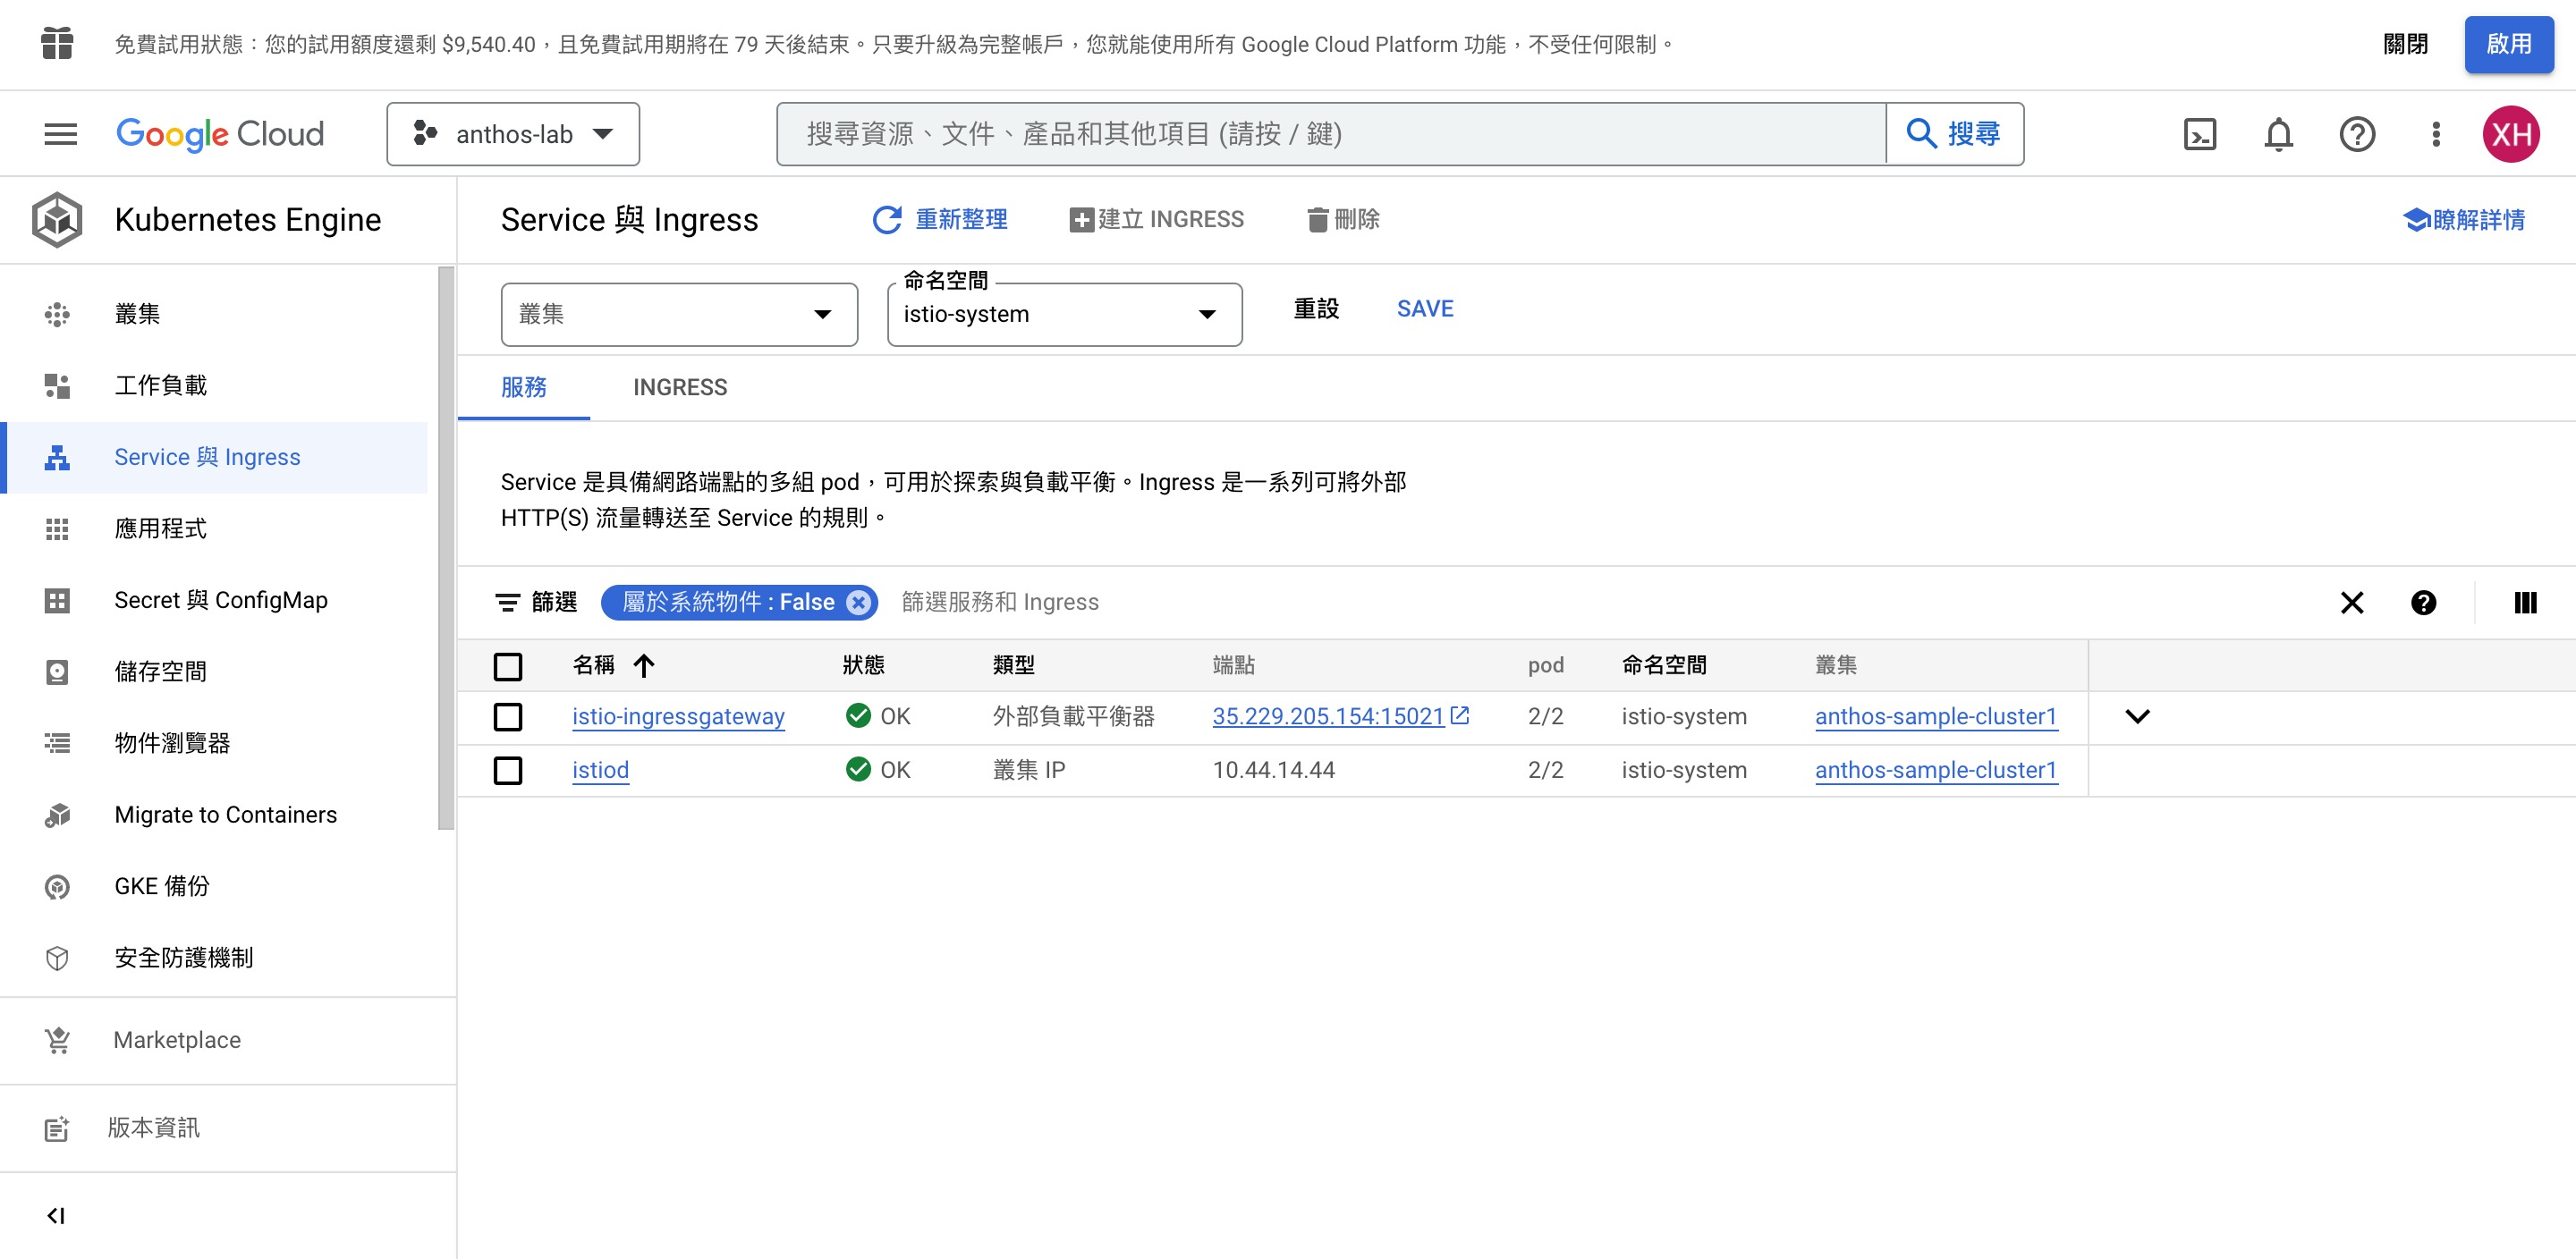
實際上這裡是沒有 Ingress 的:

深入查看 istio-ingressgateway #
接著我們根據以下步驟探索 istio-ingressgateway service:
- 如需查找 Bank of Anthos Ingress 网关,请向下滚动可用服务列表,以查找名为
istio-ingressgateway 的服务。
- 点击
istio-ingressgateway 行尾的向下箭头,以显示服务的更多信息,包括其所有外部端点。入站流量网关管理应用服务网格的入站流量,因此在本例中,我们可以使用其详细信息访问银行的网络前端。

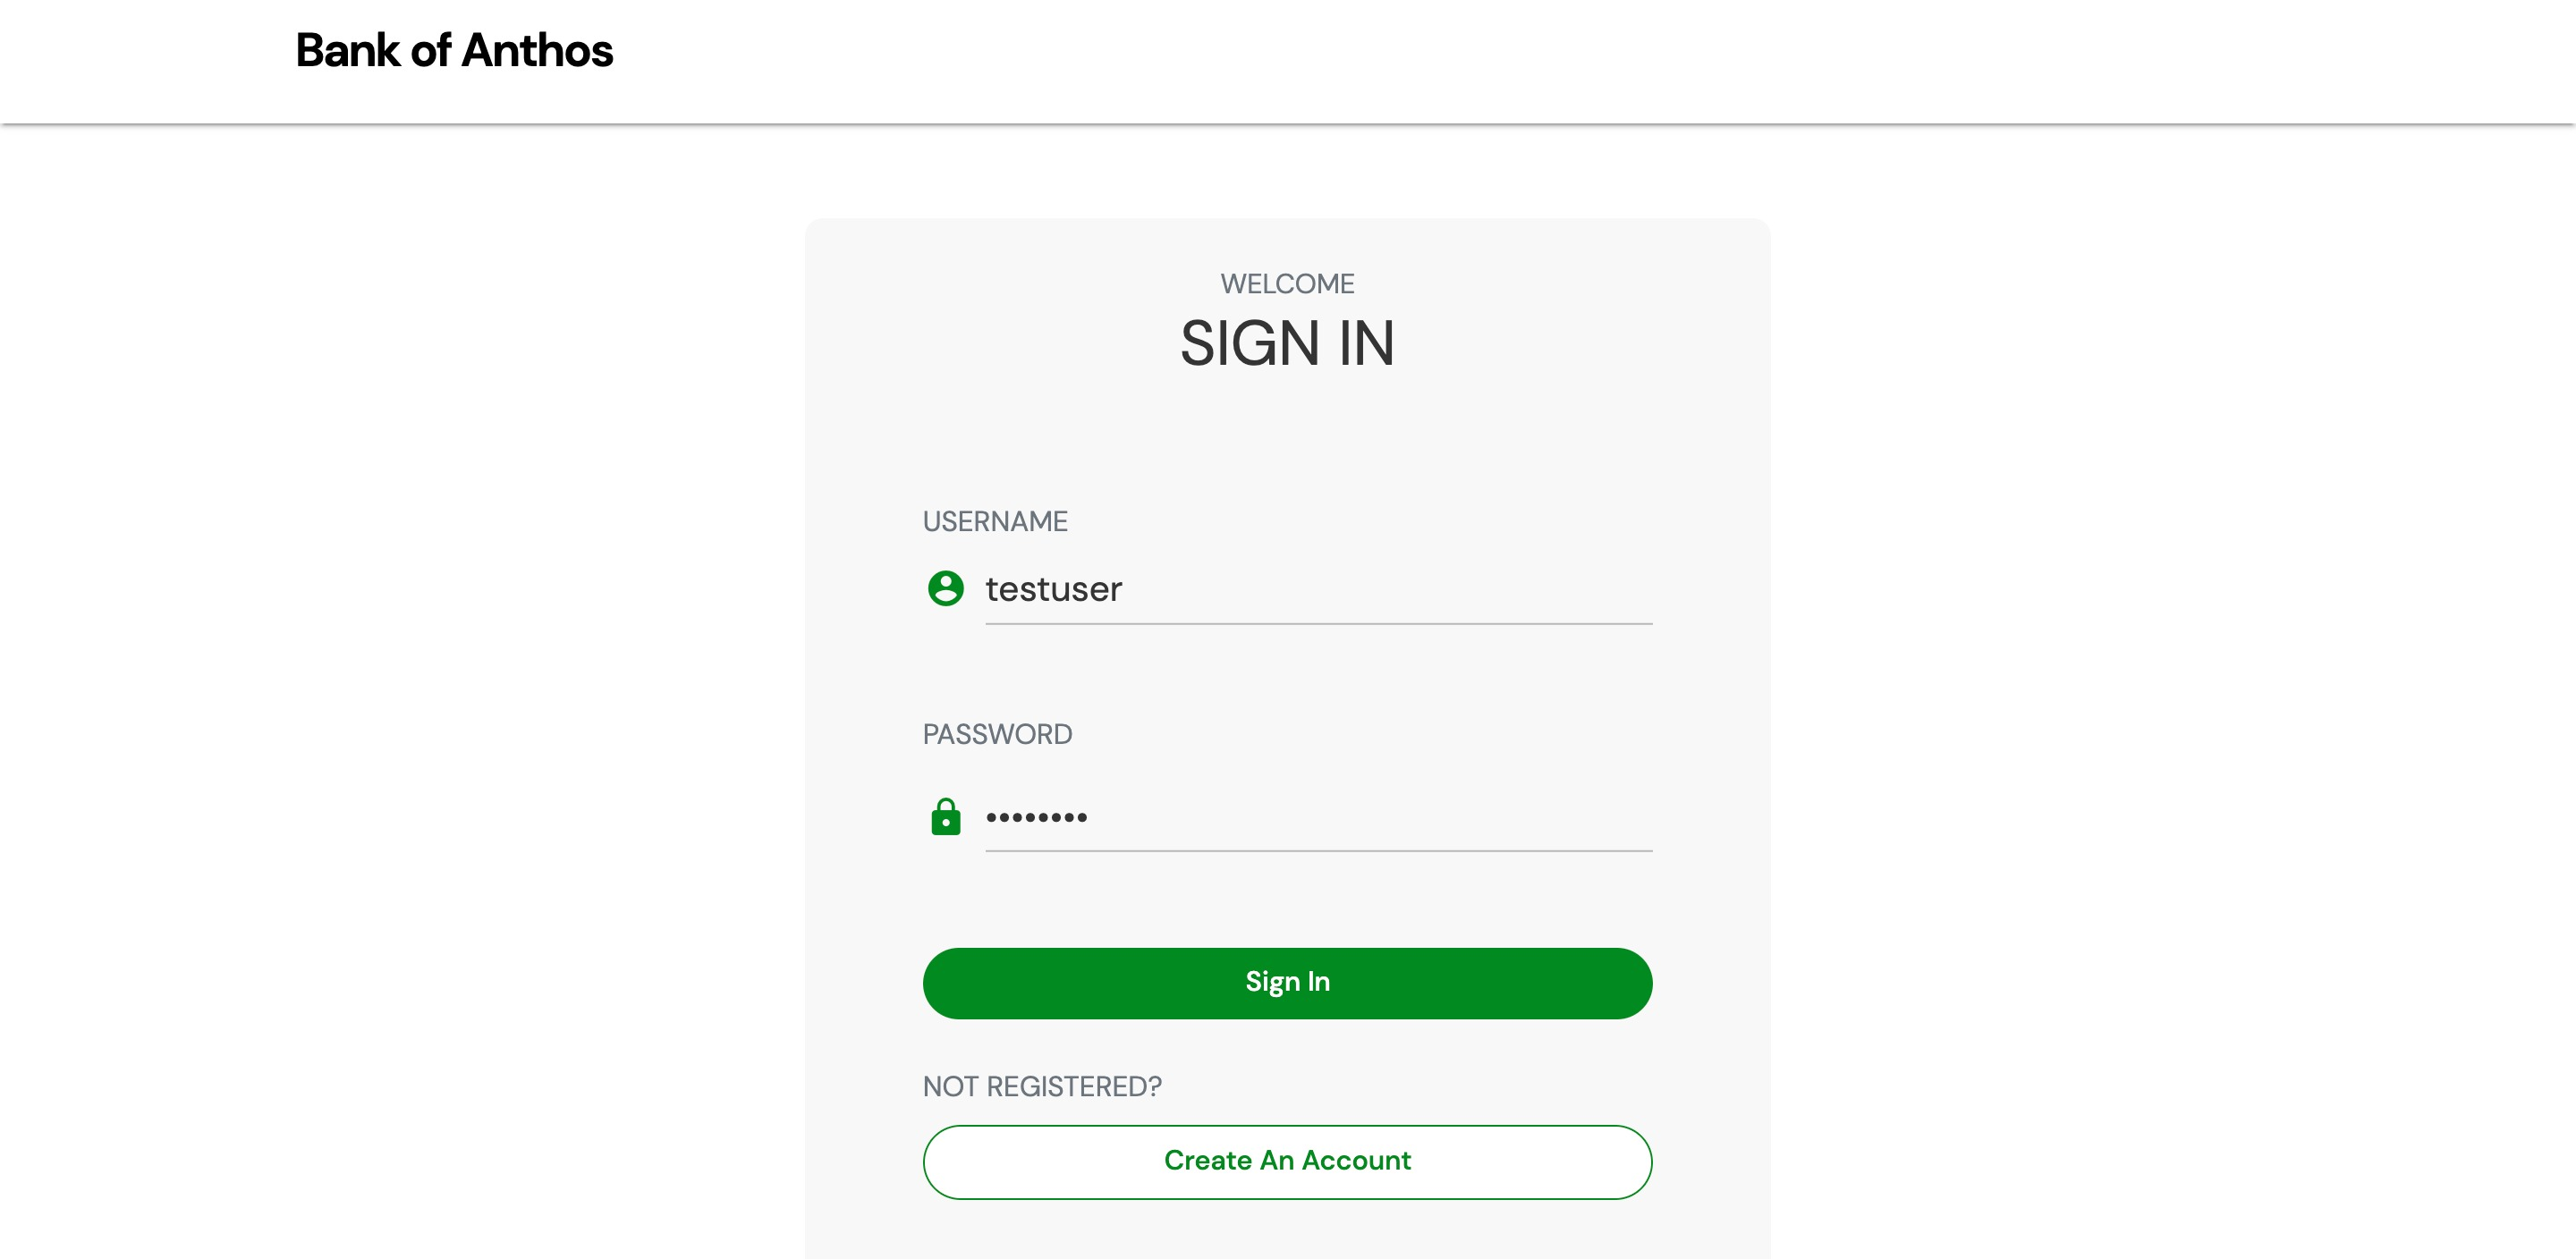
實際上 port 80 就是 BOA 前端服務的入口。
- 点击使用端口
80 的 istio-ingressgateway 外部端点。您应该能够浏览 Bank of Anthos 的网页界面。
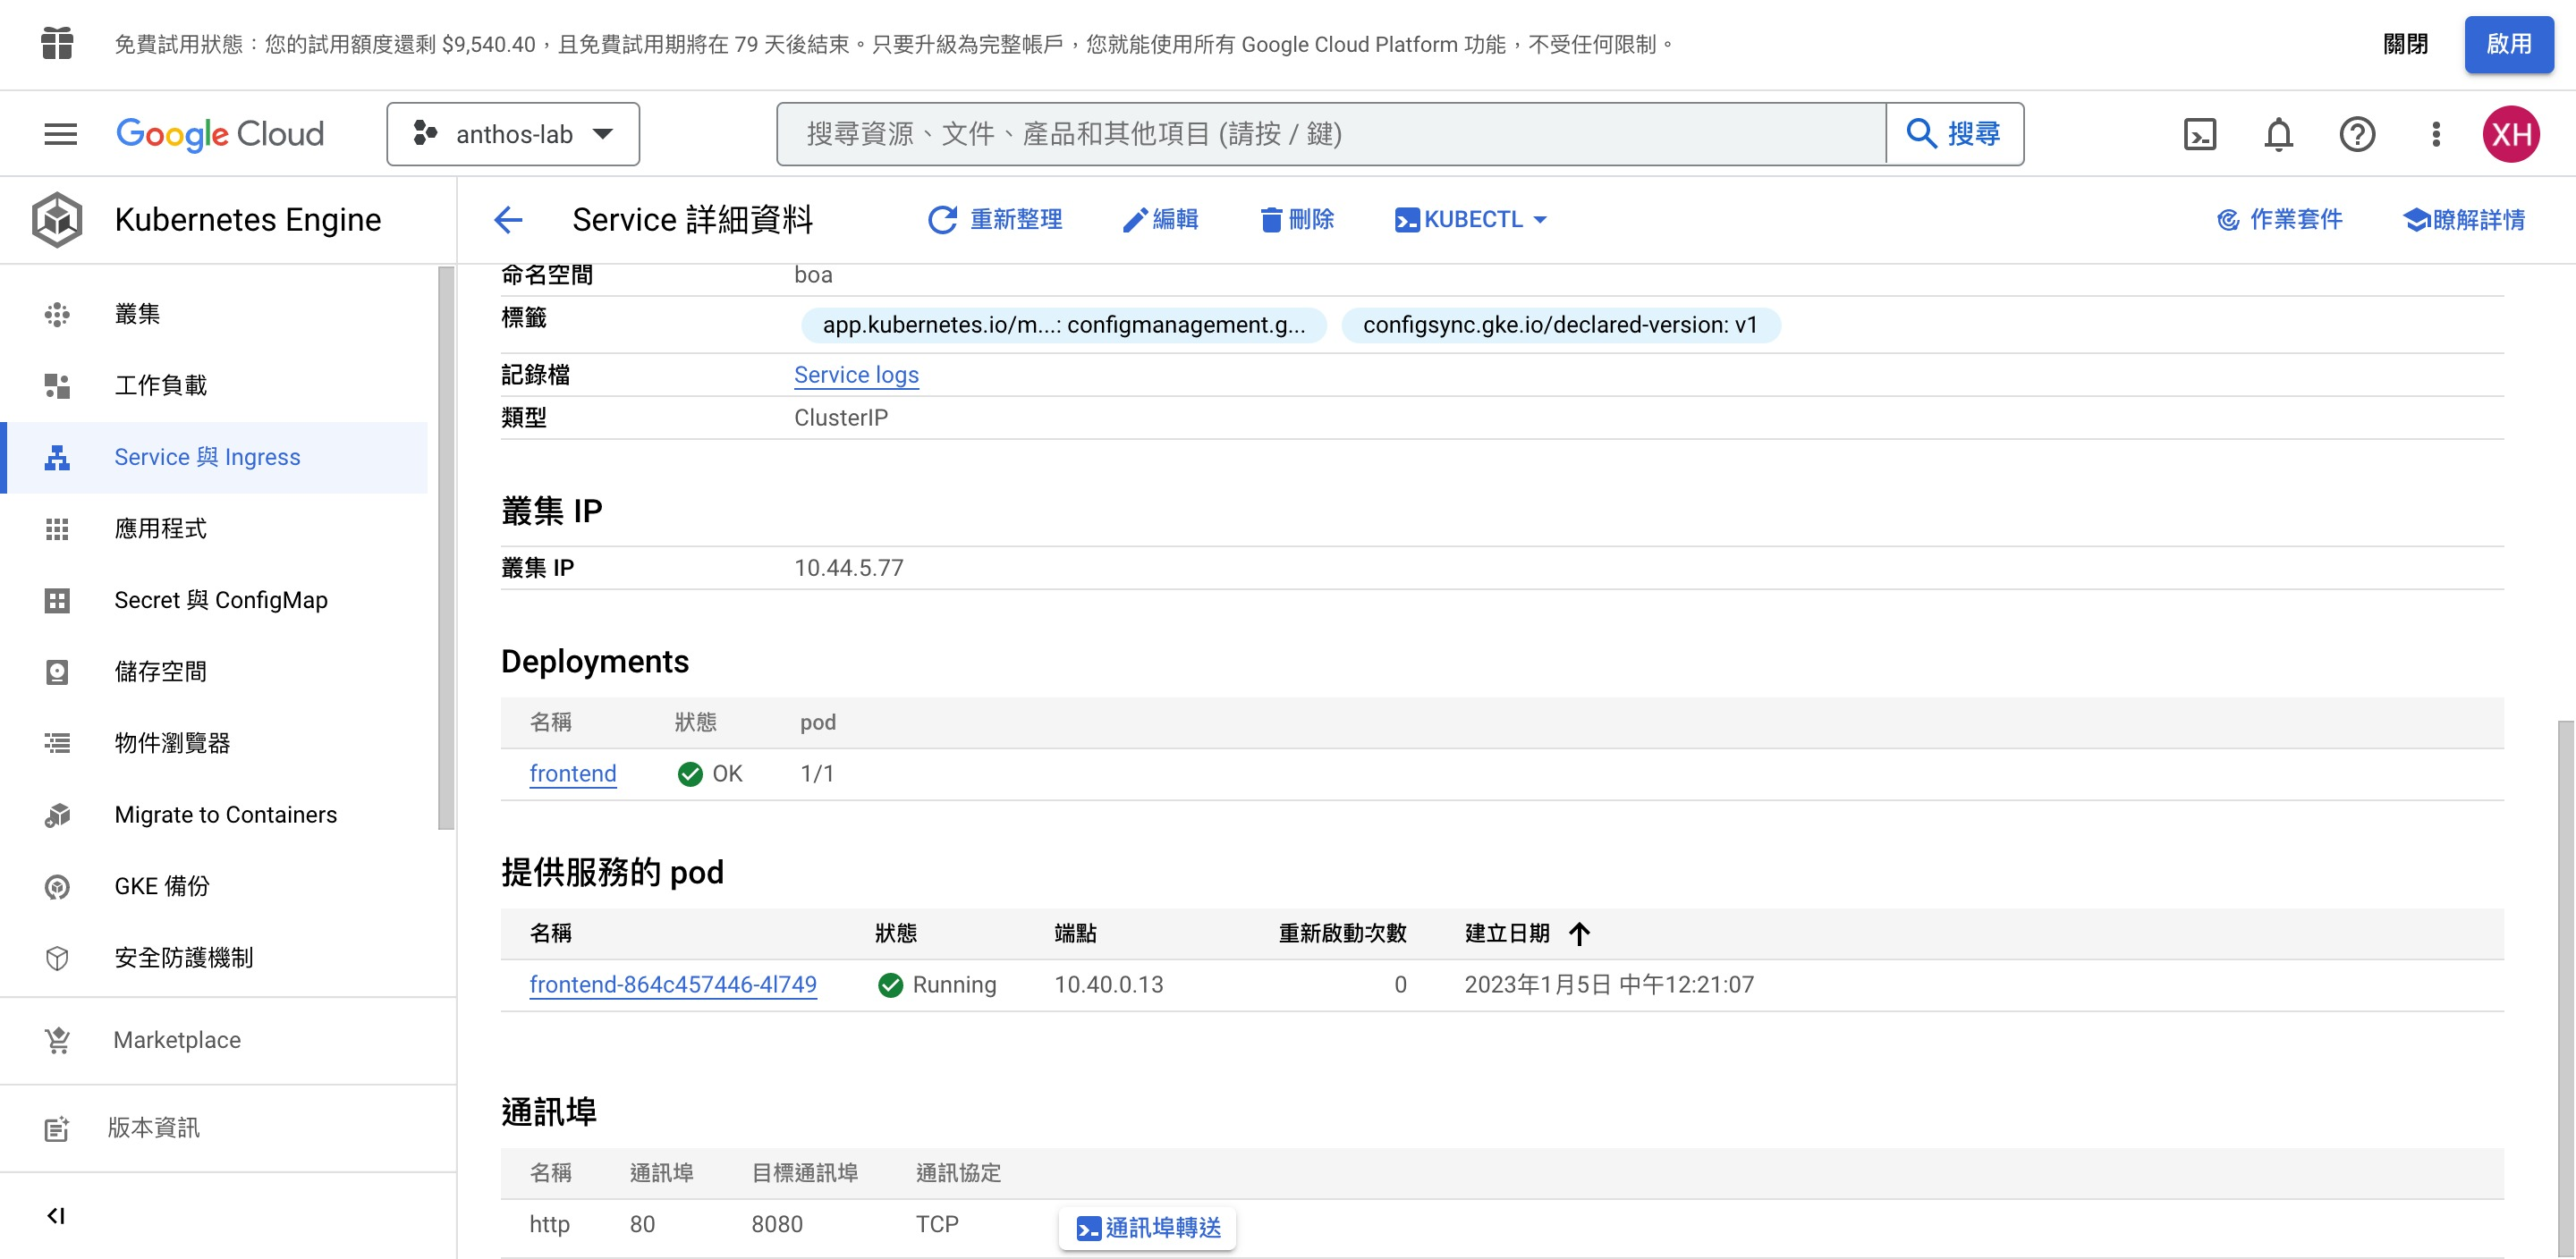
點擊 istio-ingressgateway 的名字進去看看這個 service,可以觀察一下 LB 的 80 port 是轉送到哪個內部 port:
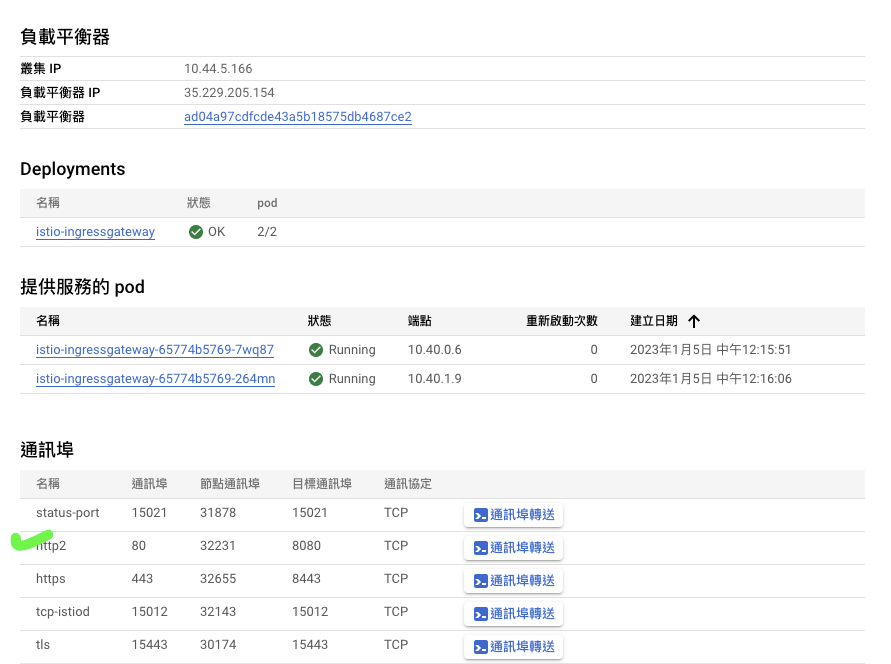
沒錯就是 frontend service,它為 frontend deploy pod 中,前端服務的 container 8080 轉送至 cluster IP 的 port 80:
Service Mesh #
Anthos 的服务管理和可观测性由 Anthos Service Mesh 提供,这是一套由 Istio 提供支持的工具,可帮助您监控和管理可靠的服务网格。如需详细了解 Anthos Service Mesh 以及它如何帮助您管理微服务,请参阅 Anthos Service Mesh 文档。如果您不熟悉如何将微服务与容器结合使用以及它们的作用,请参阅针对 Anthos Service Mesh 准备应用。
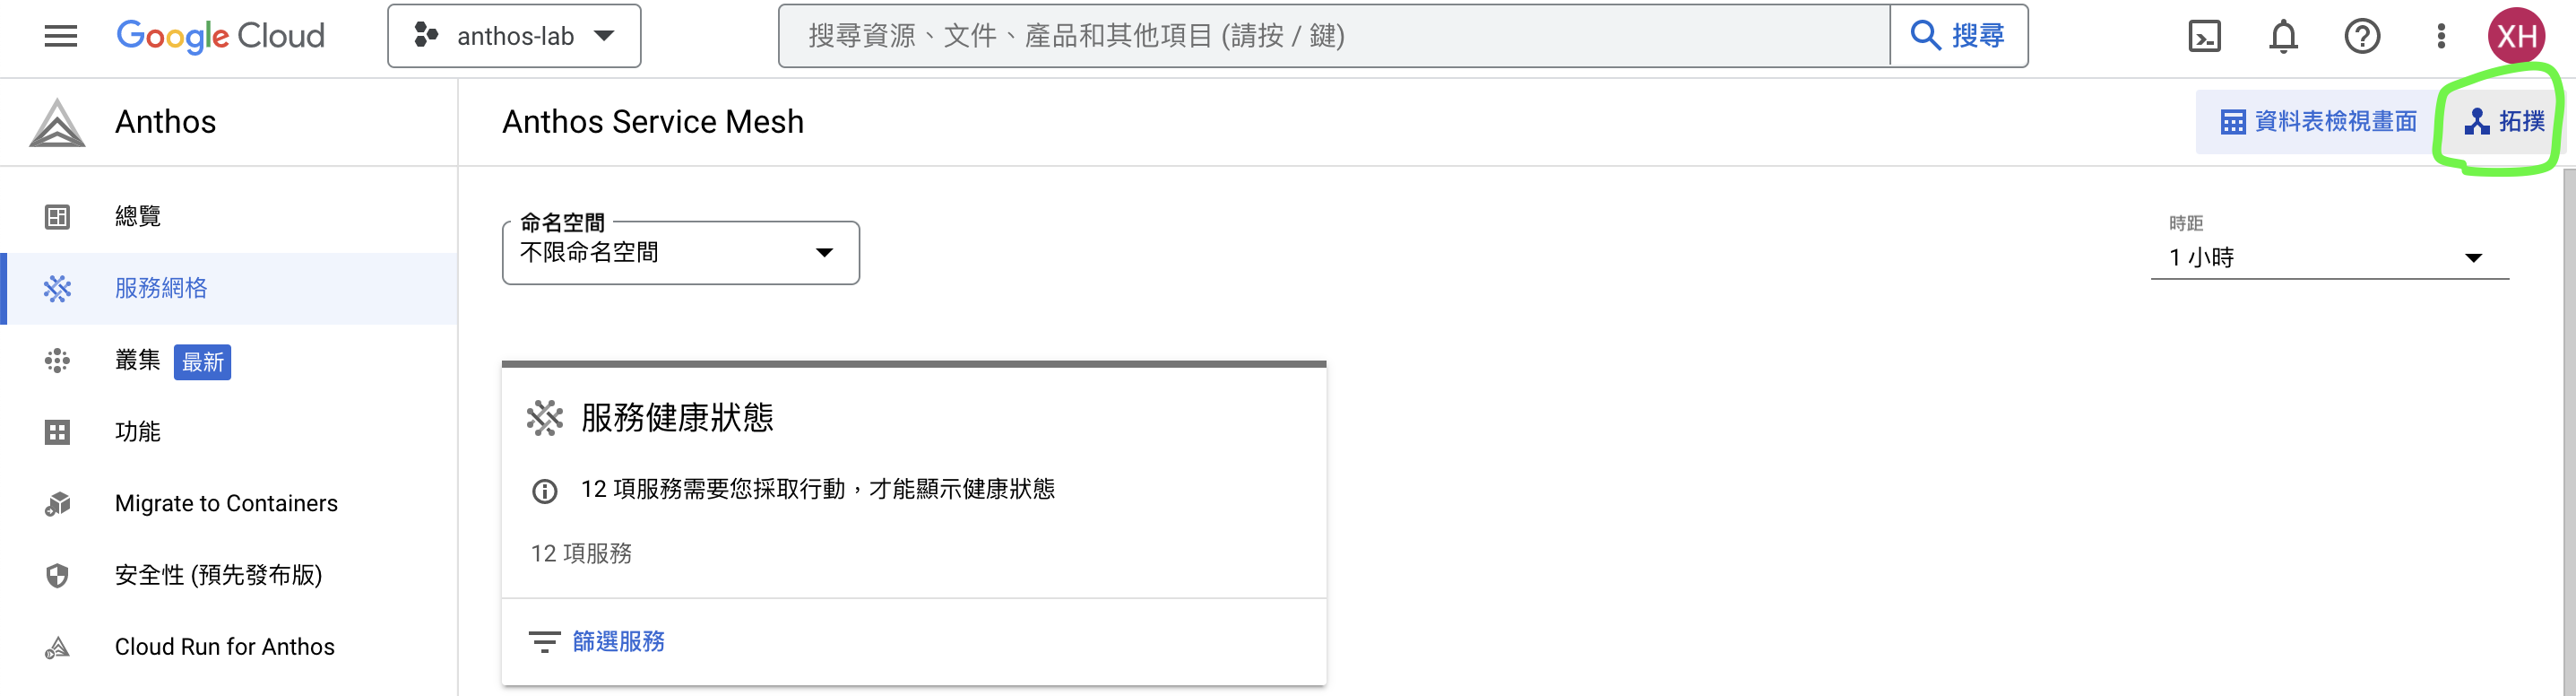
我們回到 Anthos 服務網格 (Service Mesh) tab:
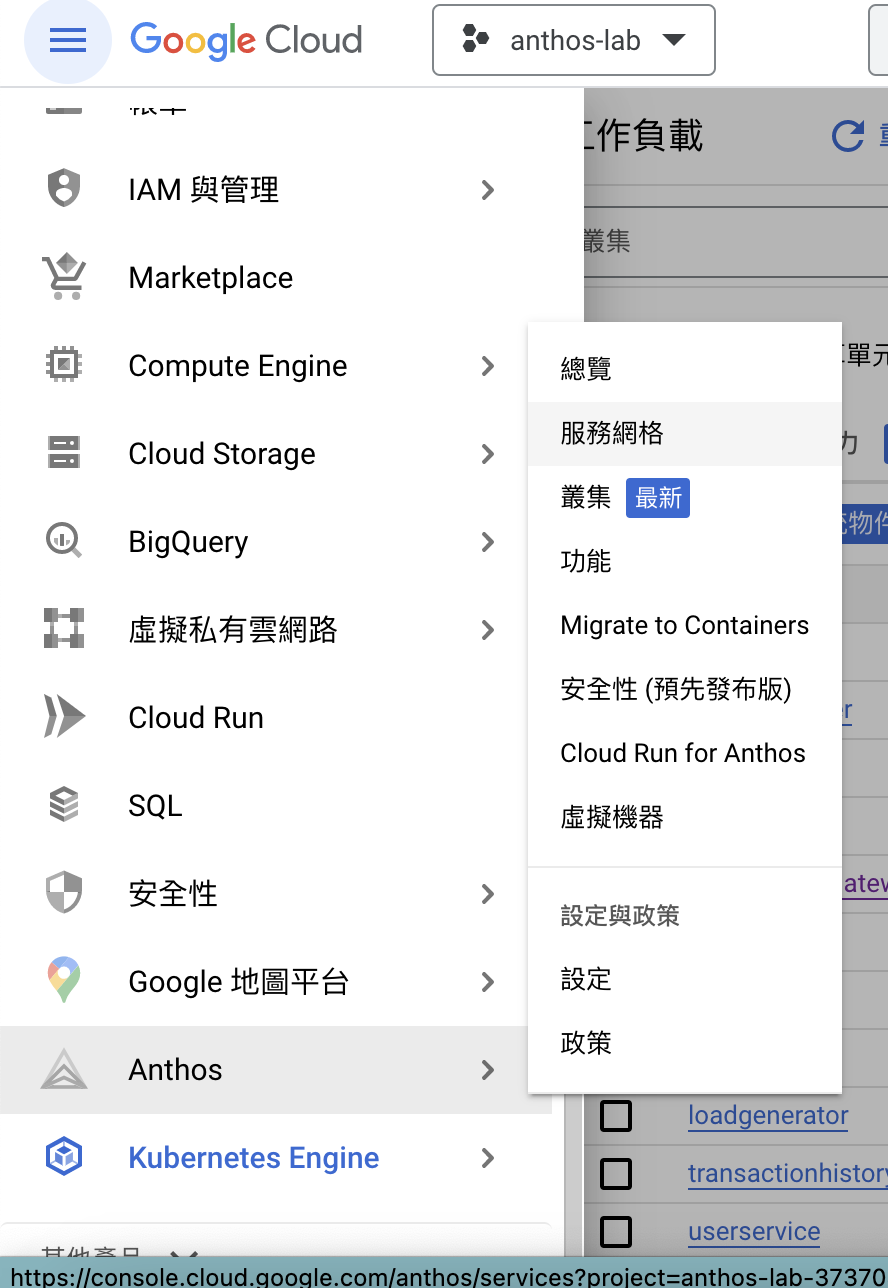
BOA 服務拓墣 #
在最右邊找到拓墣功能鍵:
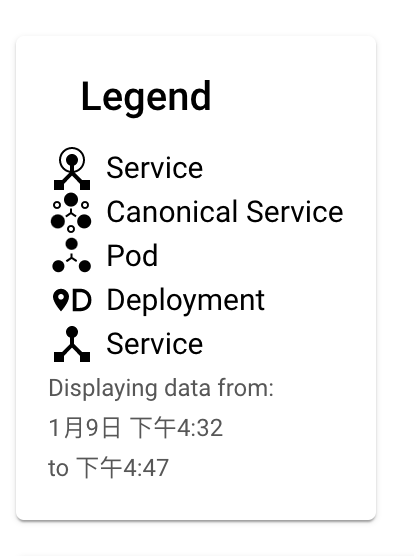
服務拓墣圖中,我們可以看到服務間的關係,這就是透過先前所講述的 Istio Enovy 達成的:
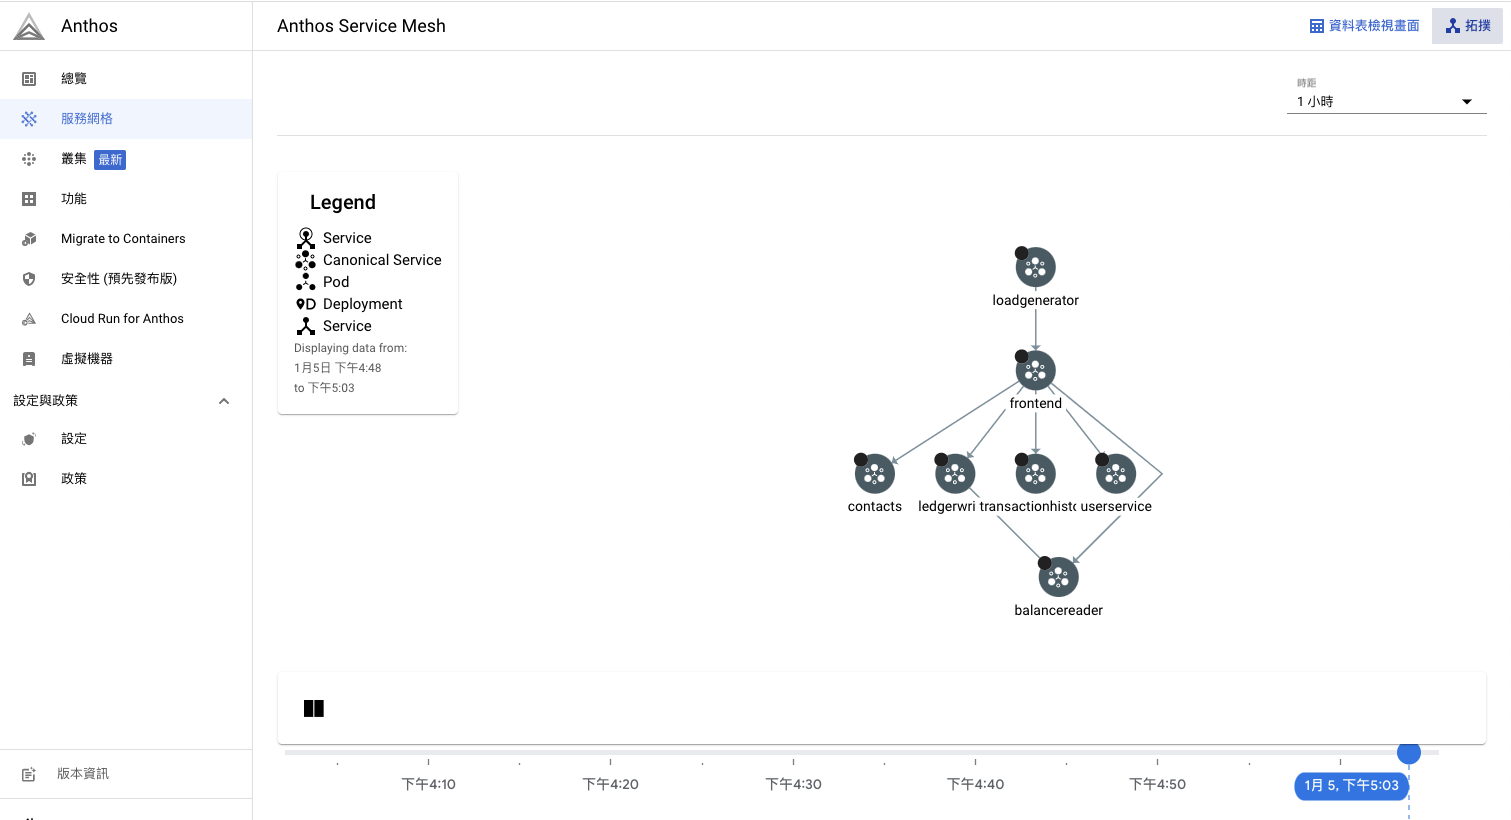
根據圖標,我們看到的 service 都是 canonical service,所有的服務都是透過 service expose 出去的 port 互相溝通。
Anthos Service Mesh 1.6.8 引入了对规范化服务的支持,这是一种概念和架构模型,用于将生产工作负载表示为更便于观察和管理的单项服务。这些工作负载可以跨越多个集群、不同的后端平台以及不同的架构和配置。
(Anthos Service Mesh 1.6.8 introduces support for Canonical Services, a conceptual and architectural model for representing your production workloads as a singular service that is easier to observe and manage. These workloads can span multiple clusters, disparate backend platforms, and different schemas and configurations.)
对于 Kubernetes 用户:规范化服务与 Kubernetes“应用”概念和应用 CRD 大致类似。
(For Kubernetes users: Canonical Service is roughly analogous to the Kubernetes "app" concept and the Application CRD.)
可以點擊這邊查看更詳細的說明:
规范化服务 | Anthos Service Mesh | Google Cloud
這個拓墣頁還能進行不同的遙測,可以參考:
Exploring Anthos Service Mesh in the Google Cloud console
後續還可以玩什麼? #
現階段暫時不會操作到這個部分:
虽然本教程介绍了许多 Anthos 功能,但在我们的部署中,Anthos 仍有更多值得研究和使用的功能。在按照下一部分中的清理说明操作之前,请访问我们的某个后续教程,使用 Anthos 尝试一些实操任务,或者继续自行探索 Anthos Sample Deployment on Google Cloud。
尝试更多教程:
刪除專案 #
記得將專案刪除,以免佔用試用額度或衍生後續費用!
学完 Anthos Sample Deployment 后,您可以清理在 Google Cloud 上创建的资源,以避免这些资源占用配额,日后产生费用。以下部分介绍如何删除或关闭这些资源。
- 选项 1. 您可以删除该项目。这是推荐的方法。但是,如要保留项目,您可以使用选项 2 删除部署。
- 选项 2.(实验性)如果您正在处理现有的空项目,则可能更希望从删除部署开始手动还原本教程中的所有步骤。
- 选项 3.(实验性)如果您是 Google Cloud 专家或者在集群中已有资源,则可能希望手动清除在本教程中创建的资源。
Published